Vampire Red Velvet Cake Recipe: Rich, Moist & Spooky

When I made this Vampire Red Velvet Cake Recipe, I wanted something deeper, richer, and more dramatic than an ordinary red velvet cake. I loved how the cocoa gave the cake a gentle chocolate flavor while the buttermilk and sour cream kept every bite incredibly moist.
I also found that using red gel food coloring gave the batter that bold vampire-red look that makes this cake perfect for Halloween. The whipped cream cheese frosting added a cool, tangy contrast to the rich cake layers. If you love red velvet cupcakes, vampire bite cupcakes, or dramatic Halloween desserts, this cake is a fun centerpiece to make and share.
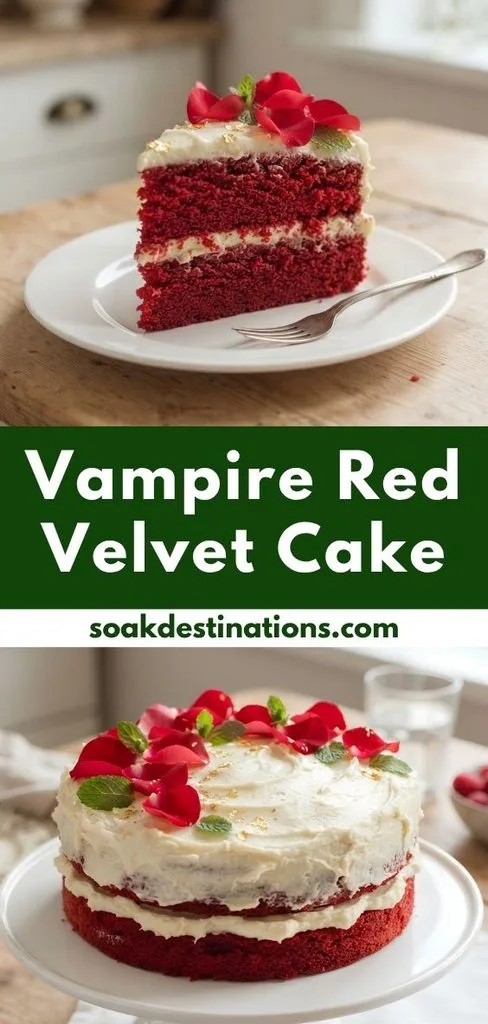
Cooking Time
This recipe makes about 16 servings and follows the original cake’s timing.
- Prep Time: 30 minutes
- Cooking Time: 27–30 minutes
- Total Time: About 1 hour 27 minutes, including cooling
Ingredients
The following quantities are based on the supplied recipe, with the cocoa amount kept at 4 tablespoons for a richer chocolate flavor.
- 1 cup melted butter — Gives the cake a rich flavor and soft, fudgy texture.
- 4 tablespoons Special Dark cocoa powder — Adds noticeable chocolate flavor; use less for a brighter red color.
- ½ cup packed light brown sugar — Adds sweetness and helps keep the cake moist.
- ½ cup light olive oil or neutral vegetable oil — Adds extra moisture without overpowering the flavor.
- 2 large eggs — Provide structure and richness.
- 1 large egg yolk — Adds extra richness and tenderness.
- ⅔ cup buttermilk — Adds moisture and the classic red velvet tang.
- ½ cup sour cream — Helps create the soft, tender texture.
- 2 teaspoons vanilla extract — Adds a gentle vanilla note.
- 2 teaspoons red gel food coloring — Creates the signature deep red color; avoid liquid coloring.
- 2 teaspoons white vinegar — Adds acidity and complements the buttermilk and cocoa.
- 2¼ cups all-purpose flour — Forms the main structure of the cake.
- 1 teaspoon baking soda — Helps the cake rise.
- 1 teaspoon baking powder — Provides additional lift.
- 1 teaspoon kosher salt — Balances the sweetness and chocolate flavor.
- 1½ cups granulated sugar — Provides the main sweetness.
- 1 large batch whipped cream cheese frosting — Creates the creamy, tangy layer and topping.
Note: serves 16.
Equipment You Need
- Two 9-inch cake pans — Used to bake the two even cake layers.
- Parchment paper — Prevents the moist cake from sticking to the pans.
- Large mixing bowl — Holds the butter mixture and wet ingredients.
- Medium bowl — Used for the sifted dry ingredients.
- Electric mixer or stand mixer — Combines the batter smoothly.
- Fine strainer or sifter — Helps sift the flour and leaveners.
- Cooling rack — Allows the baked layers to cool evenly.
- Cake stand or flat serving plate — Makes layering and frosting easier.
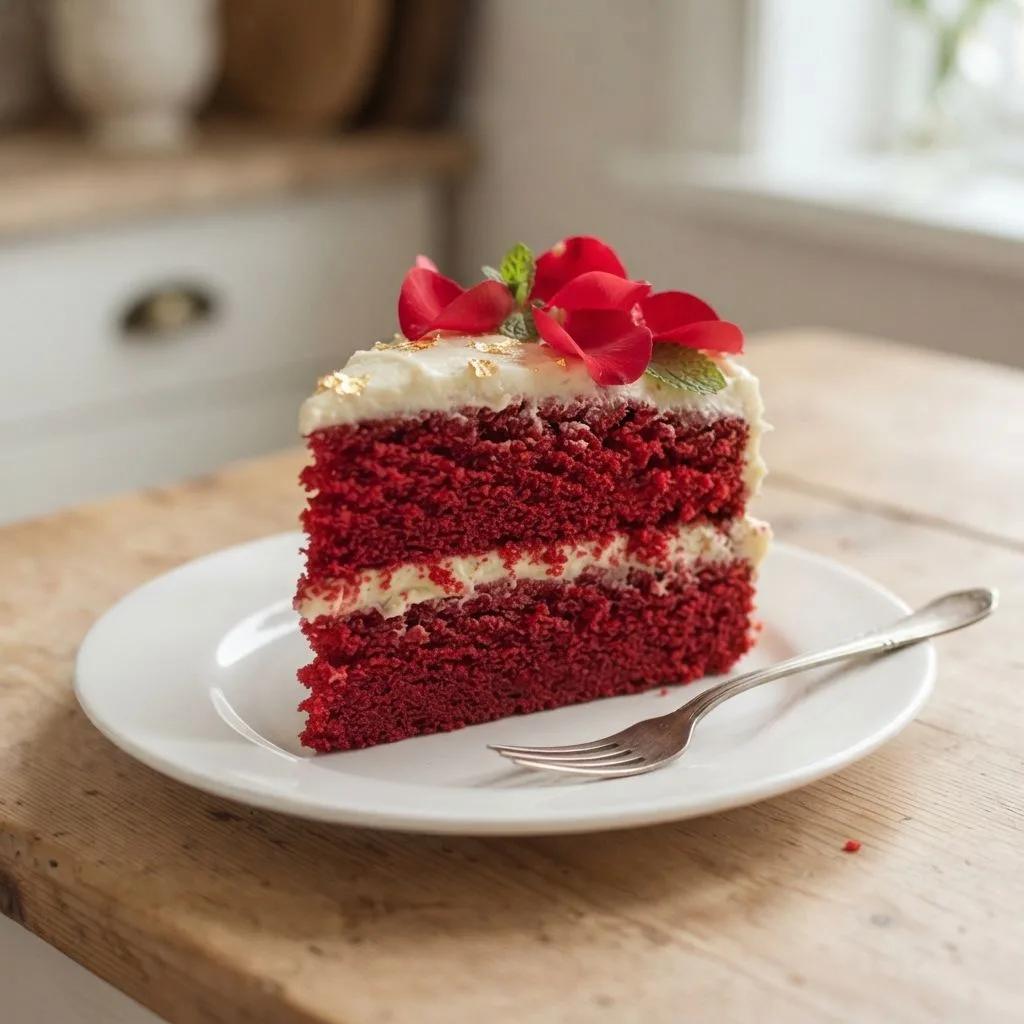
How to Make Vampire Red Velvet Cake Recipe?
This recipe is straightforward once the ingredients are organized. The key is to prepare the pans carefully, avoid overmixing, and let the cake cool completely before frosting. For the strongest vampire-red appearance, pay close attention to the cocoa and food-coloring amounts.
Prepare the Cake Pans
Start by heating the oven to 325°F. Trace the bottoms of two 9-inch cake pans onto parchment paper, cut out the circles, and place them inside the pans. Grease the parchment, sides, corners, and entire interior of each pan thoroughly. I would not skip this step because this cake is especially moist and tender.
Bloom the Cocoa Mixture
Place the melted butter, cocoa powder, and brown sugar in a microwave-safe bowl. Heat the mixture in 30-second intervals, stirring between each interval, until the butter is completely melted. Whisk everything until smooth. Heating the cocoa helps bring out its chocolate flavor, while warming the brown sugar helps dissolve stubborn lumps.
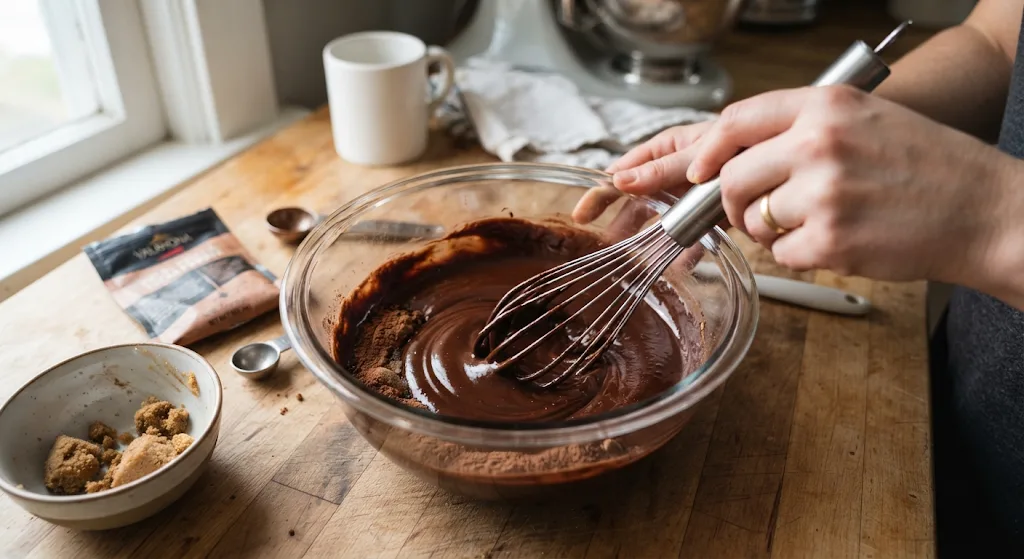
Mix the Wet Ingredients
Add the vegetable oil, eggs, extra egg yolk, buttermilk, sour cream, vanilla, red gel food coloring, and vinegar to the butter mixture. Beat everything with an electric mixer or stand mixer until the mixture is smooth and evenly colored. Scrape the sides and bottom of the bowl so no ingredients remain unmixed.
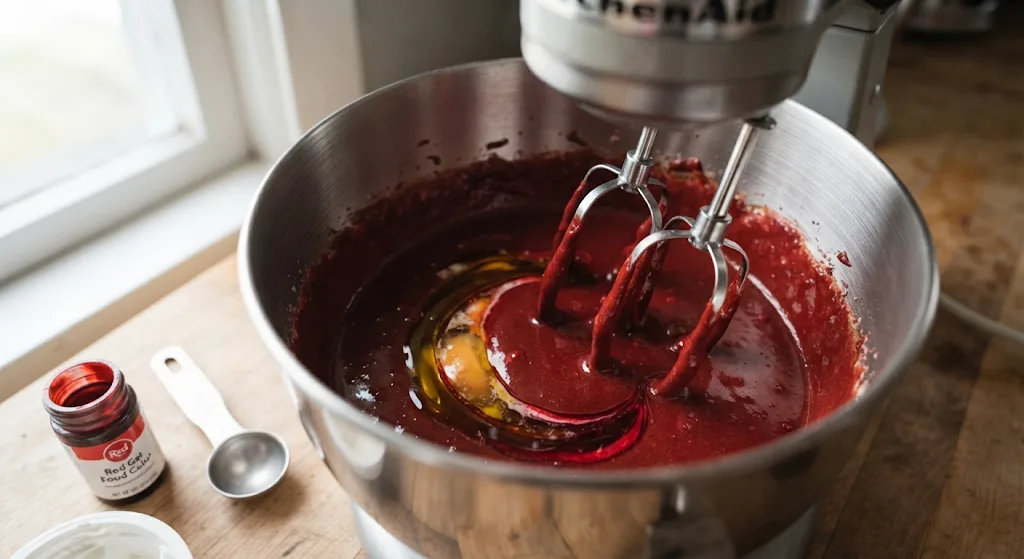
Prepare the Dry Ingredients
Spoon the flour into your measuring cup and level the top instead of scooping directly from the flour container. Sift the flour, baking soda, and baking powder into a separate bowl. Add the kosher salt and granulated sugar, then whisk the dry ingredients together. This helps distribute the leaveners and salt throughout the flour.
Combine the Batter
Add the dry mixture to the bright red wet mixture. Mix only until the ingredients come together and very few lumps remain. I always recommend stopping as soon as the batter is combined. Overmixing can make the finished cake tough instead of soft and tender.
Divide the Batter
Pour the batter evenly between the two prepared pans. If you have a kitchen scale, use it to divide the batter as evenly as possible. Even layers make assembling the finished vampire cake much easier and give you a more balanced cake when you add the frosting.
Bake the Cake
Place the pans in the 325°F oven and bake for approximately 27–30 minutes. Around the 20-minute mark, rotate the pans once the cake tops have started to set. Continue baking for another 7–10 minutes. Check the center with a toothpick; it should come out without wet batter, and the cake should spring back gently when touched.
Cool the Cake Layers
Place the pans on a cooling rack for about 10–15 minutes. Carefully loosen the edges with a butter knife and turn the cakes out onto the rack. Let both layers cool completely before adding frosting. I never rush this stage because warm cake can make the frosting soft and difficult to spread.
Assemble and Frost
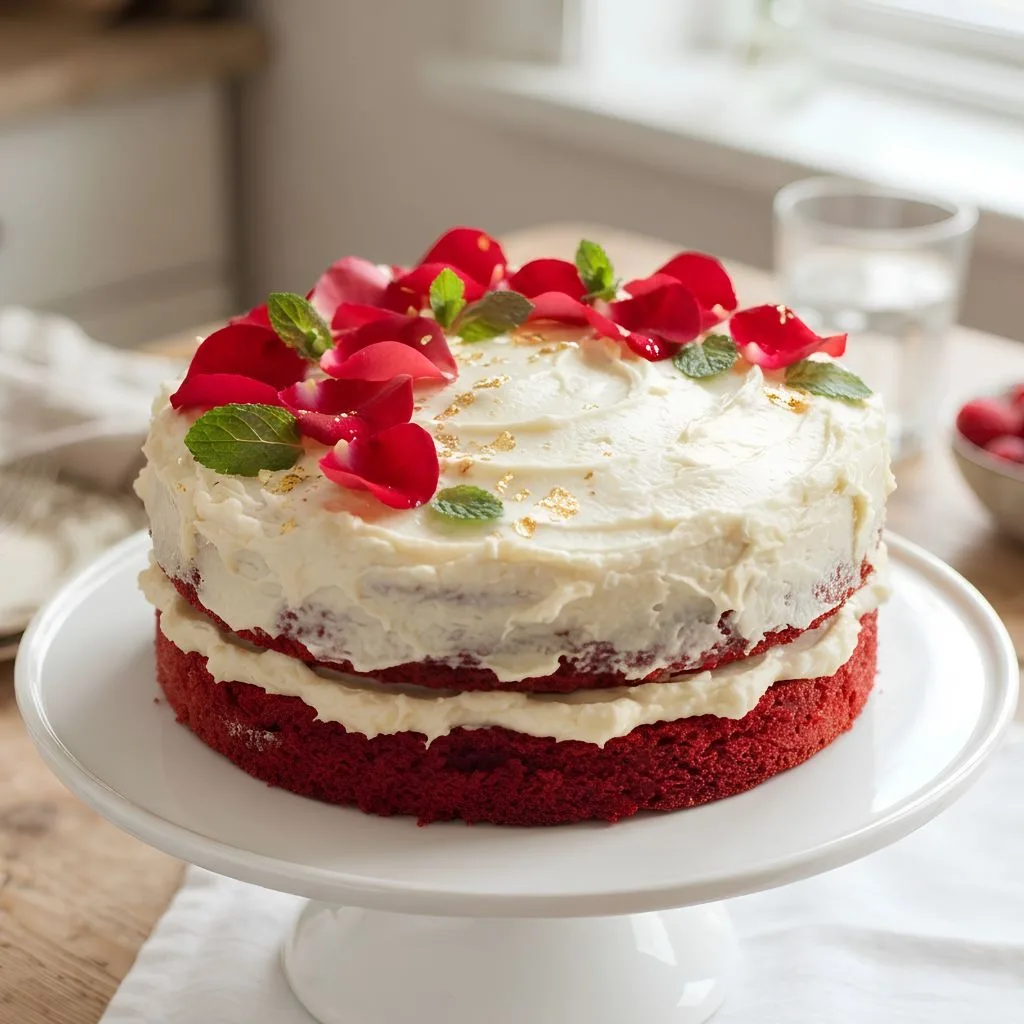
Put one completely cooled cake layer on a cake stand or flat plate. Spread about one cup of whipped cream cheese frosting over the top. Place the second cake layer on top and cover the top and sides with the remaining frosting. Refrigerate the finished cake because the cream cheese frosting needs to stay chilled.
Additional Tips for Making This Recipe Better
These small details make a noticeable difference when I prepare this style of red velvet cake.
- I always line the pans with parchment. The cake is so moist that parchment gives me much more confidence when removing the layers.
- I spoon and level my flour. This helps me avoid accidentally adding too much flour and ending up with a heavier cake.
- I use gel coloring rather than liquid coloring. The source specifically recommends red gel food coloring for this recipe.
- I avoid overmixing the batter. Once the flour disappears, I stop mixing to protect the cake’s tender texture.
- I cool the layers completely before frosting. This keeps the whipped cream cheese frosting from becoming difficult to handle.
- I use less cocoa when I want a more dramatic vampire-red appearance. The original recipe notes that reducing the cocoa creates a brighter red cake.
Common Mistakes to Avoid
- Skipping parchment paper: I have learned that a moist cake can stick badly, so I always line and grease the pans.
- Using liquid food coloring: I stick with red gel coloring because the recipe specifically calls for it.
- Packing the flour into the measuring cup: I spoon and level it instead because too much flour can affect the texture.
- Overmixing: I stop mixing once the batter is combined because excessive mixing can make the cake chewy.
- Frosting while warm: I always wait until the layers are completely cool before assembling the cake.
How to Serve Vampire Red Velvet Cake?
For a Halloween party, I like serving this cake as the dramatic centerpiece of the dessert table. The deep red layers and white cream cheese frosting already create a strong vampire-inspired contrast.
For a more theatrical presentation, slice the cake cleanly and place each piece on a dark serving plate. You can also style the dessert table around the vampire theme with red and black decorations.
If you’re making red velvet Halloween cupcakes, the same flavor profile can inspire smaller individual desserts. Cupcakes can also be decorated with vampire cupcake toppers or styled as vampire bite cupcakes for a party-friendly presentation.
Variations
The original recipe offers several ways to change the appearance or frosting style without changing the basic cake method.
- Extra-red vampire cake: Reduce the cocoa to 2 tablespoons, or even 1 tablespoon, when color is more important than intense cocoa flavor.
- Natural coloring option: Use natural red food coloring if you prefer to avoid artificial coloring, but expect a more muted shade.
- Chocolate-forward version: Keep the full 4 tablespoons of cocoa for a deeper chocolate character.
- Buttercream version: The source notes that buttercream can be used instead of cream cheese frosting, giving you a different storage approach.
- Vampire cupcake adaptation: Use the red velvet batter as inspiration for individual red velvet cupcakes and decorate them with a Halloween-themed finish.
Nutritional Information
The source provides nutrition for the cake itself rather than the whipped cream cheese frosting. Per serving, the listed values are:
- Calories: 361 kcal
- Protein: 4 g
- Carbohydrates: 41 g
- Fat: 21 g
Make Ahead and Storage
Refrigerating the Finished Cake
Once the cake is covered with whipped cream cheese frosting, I keep it refrigerated and well covered. The source states that it can stay fresh for up to one week when properly covered.
If you use buttercream instead, the source says a covered cake can remain at room temperature for up to five days.
Freezing the Cake
The cake can be frozen for approximately 2–3 months. For unfrosted layers, cool them completely, wrap them in multiple layers of plastic wrap, and place them in sealed freezer bags.
For a fully frosted cake, freeze it uncovered for about two hours first so the frosting firms up, then wrap it well in plastic wrap followed by foil. Cream cheese-frosted cake should be thawed in the refrigerator.
Making It Ahead
For the freshest result, the source recommends serving the cake within about 24 hours of making it. If I need to prepare it farther in advance, I freeze the cooled cake layers and thaw them before assembling and frosting.
This approach helps preserve the cake’s moisture and makes it easier to plan a Halloween party or special occasion ahead of time.
Why You’ll Love This Recipe?
There are plenty of reasons this vampire-inspired red velvet cake deserves a place on your dessert table.
- Moist and tender texture: The combination of butter, oil, buttermilk, sour cream, and an extra egg yolk gives the cake a particularly soft texture.
- Rich chocolate flavor: I love that the cocoa is noticeable without turning the cake into an ordinary chocolate cake.
- Perfect Halloween color: Red gel coloring gives the cake its dramatic appearance, while reducing the cocoa can make the color even brighter.
- Creamy frosting: The whipped cream cheese frosting adds a tangy, creamy contrast to the sweet cake layers.
- Great for celebrations: I can easily imagine serving this vampire cake at Halloween parties, birthdays, anniversaries, or any gathering where a dramatic dessert belongs.
FAQs
Is Vampire Red Velvet Cake just chocolate cake?
No. It contains cocoa, but the flavor is lighter than a traditional chocolate cake. The buttermilk, vinegar, vanilla, and cream cheese frosting create the distinctive red velvet flavor.
How do I make red velvet cake more bright red?
Use less cocoa powder. The source recommends reducing the 4 tablespoons to 2 tablespoons or even 1 tablespoon when a much brighter red color is the priority.
Can I use liquid food coloring instead of gel?
The supplied recipe specifically recommends red gel food coloring and says not to use liquid food coloring. I would follow that recommendation for the intended color.
Can I freeze Vampire Red Velvet Cake?
Yes. The cake can be frozen as individual layers, as a whole frosted cake, or as individual frosted slices. The source gives a storage window of approximately 2–3 months.
Does red velvet cake need to be refrigerated?
The cake itself does not necessarily require refrigeration, but the whipped cream cheese frosting does. I keep a frosted cake covered in the refrigerator to maintain the frosting and moisture.