Poison Apple Cupcake Recipe: A Spooky Halloween Treat to Love

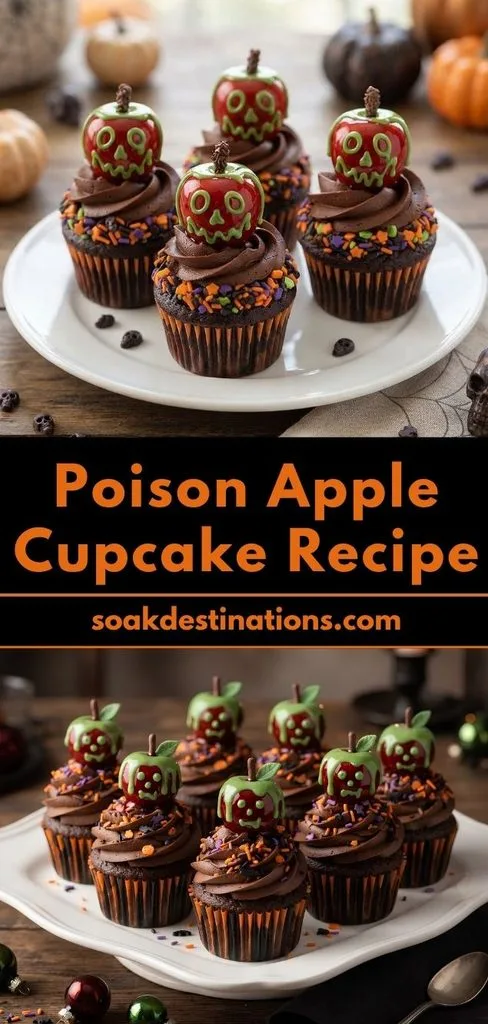
I made this Poison Apple Cupcake Recipe for a Halloween-style dessert, and they turned out even more fun than I expected. I loved the combination of rich chocolate cupcakes, creamy chocolate frosting, sweet caramel, and colorful sprinkles.
The little red cake-ball apples on top are what really make these cupcakes stand out. I found the green candy-melt “poison” detail surprisingly simple once I had everything ready. If you want a spooky dessert that looks impressive without requiring complicated baking skills, this poison apple recipe is a fun one to try.
Cooking Time
- Prep Time: 30 minutes
- Cooking Time: 18 minutes
- Total Time: About 48 minutes, plus cooling and decorating time
The original recipe makes 12 cupcakes. The decorative mini poison apples are made from additional baked cupcakes, so the source notes that a batch of 24 cupcakes can provide enough cake for approximately 9 poison apples.
Ingredients
For the Chocolate Cupcakes
- 2 cups sugar — Adds sweetness and helps create the soft cupcake texture.
- 1¾ cups all-purpose flour — Forms the main structure of the cupcakes.
- ¾ cup cocoa powder — Gives the cupcakes their deep chocolate flavor.
- 1½ teaspoons baking soda — Helps the batter rise.
- 1½ teaspoons baking powder — Adds additional lift for lighter cupcakes.
- 1 teaspoon salt — Balances the sweetness and chocolate flavor.
- 2 eggs — Help bind the ingredients and provide structure.
- 1 cup milk — Adds moisture and richness to the batter.
- ½ cup vegetable oil — Helps keep the chocolate cupcakes tender.
- 2 teaspoons vanilla extract — Adds a smooth background flavor.
- 1 cup boiling water — Creates a very thin batter and intensifies the chocolate texture.
For the Chocolate Frosting
- 1 stick butter, melted — Provides richness and a smooth frosting base.
- ¾ cup cocoa powder — Builds the chocolate flavor.
- 6 cups powdered sugar — Sweetens and thickens the frosting.
- ⅔ cup milk — Helps bring the frosting together; adjust for consistency.
- 2 teaspoons vanilla extract — Gives the frosting a pleasant finishing flavor.
For the Mini Poison Apples
- 9–12 baked cupcakes — These are crumbled and shaped into little apples.
- 12 ounces red candy melts — Creates the red coating around each cake apple.
- 6 ounces green candy melts — Makes the dripping poison decoration.
- Brown bar-type sprinkles — Works as the tiny apple stem.
- 1 tablespoon frosting — Binds the crumbled cake into a workable mixture.
For Decorating and Filling
- Halloween sprinkles — Adds a colorful spooky layer around the frosting.
- ¾ cup caramel dip — Creates the hidden caramel center inside the cupcakes.
- Foil or parchment paper — Provides a nonstick surface while the candy coating sets.
Note: serves several — the recipe itself yields 12 cupcakes, while the source describes using additional cupcakes to create the decorative apples.
Equipment You Need
- Muffin or cupcake tin — Holds the liners while the cupcakes bake.
- Cupcake liners — Makes baking and removing the cupcakes easier.
- Stand mixer or electric mixer — Helps combine the cupcake batter and frosting.
- Mixing bowls — Useful for preparing the cake, frosting, and cake-ball mixture.
- Small knife — Used to cut a plug from the center of each cupcake.
- Piping bag with large star tip — Creates the chocolate frosting swirl.
- Piping bag with small #2 tip — Make detailed green poison decorations.
- Foil or parchment paper — Lets the coated mini apples harden without sticking.
- Freezer — Chills the shaped cake apples before dipping them.

How to Make a Poison Apple Cupcake Recipe?
These cupcakes have three main parts: chocolate cupcakes, chocolate frosting, and the decorative poison apples. I recommend preparing the cupcakes and frosting first, then making the mini apples while everything cools. Once all the pieces are ready, the final assembly is simple and gives you that dramatic Halloween look.
Prepare the Chocolate Cupcake Batter
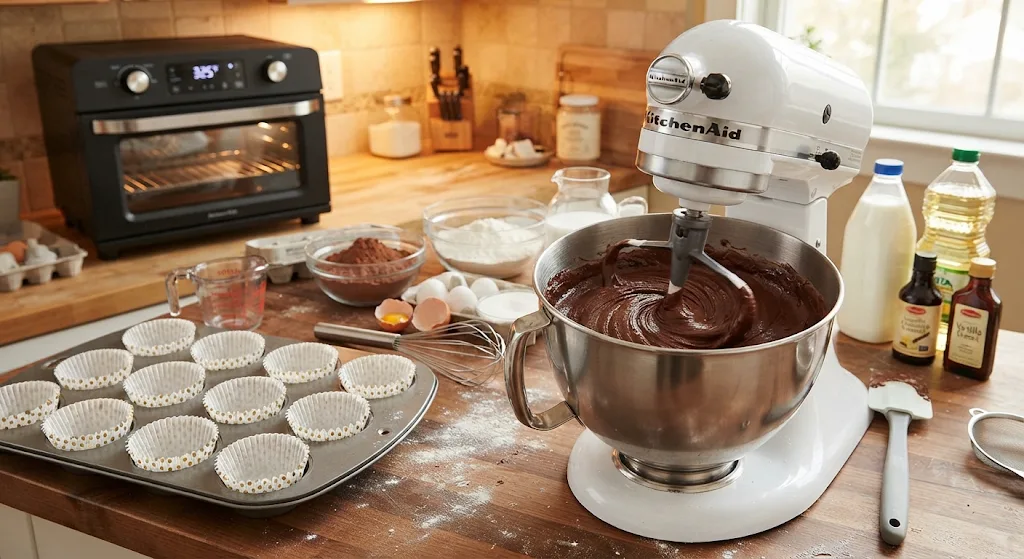
Start by preheating the oven to 325°F and lining a cupcake or muffin tin with cupcake liners. In a mixer, combine the sugar, flour, cocoa powder, baking soda, baking powder, and salt. Add the eggs and mix them into the dry ingredients. Then add the milk, vegetable oil, and vanilla extract. Mix until everything is incorporated, continuing for about 2–3 minutes.
Add the Boiling Water
Slowly mix in the boiling water. The batter will be very thin, so don’t worry if it looks much more liquid than a typical cupcake batter. Pour a little less than ¼ cup of batter into each liner, filling each one approximately two-thirds full. This amount helps leave enough room for the cupcakes to rise.
Bake the Cupcakes
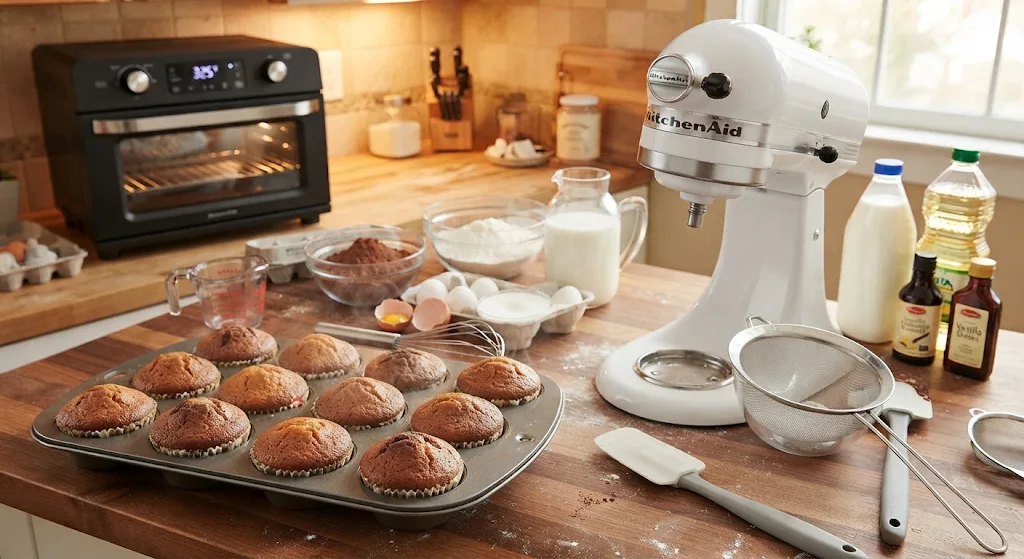
Place the filled cupcake tin in the preheated oven and bake for approximately 18 minutes, or until the cupcakes are done. Remove them from the oven and allow them to cool completely. The cupcakes need to be fully cooled before you begin cutting, filling, and decorating them.
Make the Chocolate Frosting
Pour the melted butter into the mixing bowl and blend in the cocoa powder. Add 3 cups of powdered sugar and mix well. Add ⅓ cup of milk and combine. Then mix in the remaining powdered sugar followed by the remaining milk. Finish by stirring in the vanilla extract.
Adjust the Frosting
Check the consistency before decorating. If the chocolate frosting is too thin, add more powdered sugar and mix again. If it is too thick, add a little more milk. I like having frosting that is firm enough to hold a piped swirl while still being easy to spread.
Shape the Mini Poison Apples
Take 9–12 cooled cupcakes and crumble them into a bowl. Add about 1 tablespoon of frosting and mix until the texture resembles soft playdough. If the mixture seems too dry, add a little more frosting. Avoid making it soggy because the mixture needs to hold its apple shape.
Chill the Cake Apples
Take tablespoon-sized portions of the cake mixture and roll them into small balls. Shape them slightly so they resemble little apples. Place the shaped cake balls in the freezer for about 20 minutes. Chilling them helps the shapes hold together during the candy coating step.
Coat the Apples in Red Candy
Melt the red candy melts according to the package directions. Dip each chilled cake apple into the melted candy, then gently tap away excess coating. Place the coated apples on foil or parchment paper and let the coating harden. The red coating does not have to be perfectly smooth because much of it will be covered by the green decoration.
Add the Green Poison
Melt the green candy melts according to the package directions. Working with about half the amount at a time can help prevent the candy from hardening inside the piping bag.
Put the melted green candy into a piping bag fitted with a small #2 tip. Pipe two small circles and an upside-down teardrop on the apple to create the face.
Continue piping drips around the apple and cover the upper portion with the green candy. Add a little green candy to a brown sprinkle and attach it to the top as the stem.
Let the Apples Set
Allow the decorated apples to sit for around 10 minutes, or until the candy melts have hardened. At this point, the little poison apples should be ready to place on the cupcakes. Keep them somewhere safe while you assemble the chocolate cupcakes.
Fill the Cupcakes With Caramel
Take each completely cooled chocolate cupcake and carefully cut a small plug from its center using a small knife. Spoon some caramel dip into the opening. Replace the piece of cupcake you removed so the caramel is enclosed inside the cake.
Add Sprinkles and Frosting
Spread a thin layer of chocolate frosting over the cupcake. Pour the Halloween sprinkles into a bowl and dip the frosted cupcake into them. Next, fill a piping bag fitted with a large star tip with the chocolate frosting. Pipe a swirl onto the center of each cupcake.
Finish With the Poison Apple
Place one finished mini poison apple on top of each decorated cupcake. The finished dessert combines the chocolate cupcake, hidden caramel filling, chocolate frosting, Halloween sprinkles, and striking red-and-green poison apple decoration into one centerpiece-worthy treat.
Additional Tips for Making This Recipe Better
- I found that letting the cupcakes cool completely makes the center-cutting and caramel filling much easier.
- I would keep the cake-ball mixture firm rather than adding too much frosting, because overly soft mixture is harder to shape.
- I recommend chilling the shaped apples for the full 20 minutes before dipping them into the red candy melts.
- I like working with only part of the green candy melts at a time so the decoration stays workable inside the piping bag.
- I would not worry about making the red coating perfectly smooth because the green “poison” decoration covers much of it.
- I find it easier to prepare all the mini apples before starting the final cupcake decoration.
Common Mistakes to Avoid
- Adding too much frosting to the cake crumbs: I keep the mixture similar to playdough so the mini apples hold their shape.
- Worrying about the thin cupcake batter: I learned that the boiling water makes the batter very thin, and that is expected in this recipe.
- Skipping the chilling step: I would always freeze the shaped cake balls for about 20 minutes before coating them.
- Melting all the green candy at once: I prefer working with smaller amounts because the candy can harden inside the piping bag.
- Filling the cupcakes before they cool: I let them cool completely first so the caramel and frosting can be added cleanly.
How to Serve Poison Apple Cupcakes?
I like serving these cupcakes as a Halloween dessert centerpiece because the bright red apples immediately draw attention. Arrange them on a large platter or cake stand so the individual decorations are easy to see.
For an especially spooky presentation, keep the green candy drips visible and position the mini apple directly on the frosting swirl. The Halloween sprinkles add another colorful layer around the top of each cupcake. These are especially suited to Halloween gatherings, themed dessert tables, and parties where the presentation is just as important as the flavor.

Variations
The original source focuses on the chocolate, caramel, red-and-green candy-melt combination rather than providing alternative dietary versions. If you want to stay faithful to the original recipe, these are the main flavor and decoration elements to experiment with:
- Extra caramel flavor: Add a little more caramel dip to the cupcake center while keeping the cake plug available to close the opening.
- More chocolate flavor: Keep the chocolate cupcake and cocoa-based frosting combination as the main flavor profile.
- Different Halloween sprinkles: Use another Halloween-themed sprinkle mix while keeping the same decorating method.
- More dramatic poison detail: Add additional green candy-melt drips around the mini apple for a stronger visual effect.
- Apple decoration focus: Shape the cake balls carefully into slightly apple-like forms before chilling them.
Nutritional Information
The provided source does not include a nutritional analysis for this recipe, so exact calorie and macronutrient values should not be assumed.
- Calories: Not provided in the source.
- Protein: Not provided in the source.
- Carbohydrates: Not provided in the source.
- Fat: Not provided in the source.
Actual nutrition would depend on the specific brands and quantities of ingredients used, as well as how much frosting, caramel, candy melts, and sprinkles are consumed.
Make Ahead and Storage
Make Ahead
I would make the chocolate cupcakes ahead of time and allow them to cool completely before beginning the decoration. The mini poison apples can also be prepared separately before assembling the final cupcakes.
For the smoothest decorating process, have the frosting, caramel, sprinkles, and finished candy apples ready before you begin assembling the cupcakes.
Storage
Keep the completed cupcakes protected from conditions that could damage the frosting and candy decorations. Because the source does not provide a specific storage duration, it is best not to claim an exact number of days.
For best texture and appearance, assemble the cupcakes close to when you plan to serve them. The source also does not provide reheating or freezing instructions for the finished cupcakes, so those methods are not specified here.
Why You’ll Love This Recipe
The appeal of these cupcakes comes from the combination of an easy chocolate base and a surprisingly playful decoration. Here are a few reasons I would make them again.
- They look impressively spooky: I love how the tiny red apples with green candy “poison” instantly transform an ordinary cupcake into a Halloween centerpiece.
- There is a caramel surprise inside: I think the hidden caramel center makes the cupcakes more interesting because you don’t see the filling until you take a bite.
- The chocolate combination is rich: I enjoy the way the chocolate cupcake and chocolate frosting work together while the caramel adds another sweet layer.
- The decorations are customizable: I can adjust the green candy drips, sprinkles, and apple shapes to create slightly different looks for every batch.
- They are great for Halloween gatherings: I find these particularly useful when I want a dessert that looks themed and decorative rather than simply tasting good.
FAQs
Can I make the poison apples with fewer cupcakes?
Yes. The source uses 9–12 baked cupcakes for the decorative apples. The exact number depends on how many small apples you want to make.
Why is the chocolate cupcake batter so thin?
The recipe adds 1 cup of boiling water, which makes the batter very thin. The original instructions specifically note that this is expected.
How long should I freeze the mini poison apples?
The shaped cake balls should be placed in the freezer for about 20 minutes before dipping them into the melted red candy coating.
Do the red poison apples need to be perfectly smooth?
No. The original method notes that a perfectly smooth coating is not necessary because the green candy decoration covers much of the surface.
How do I make the frosting thicker or thinner?
I would add more powdered sugar if the frosting needs to be thicker. If it is too thick, add more milk gradually until the desired consistency is reached.