Skeleton Chocolate Cake Recipe: Rich, Spooky & Easy for Halloween

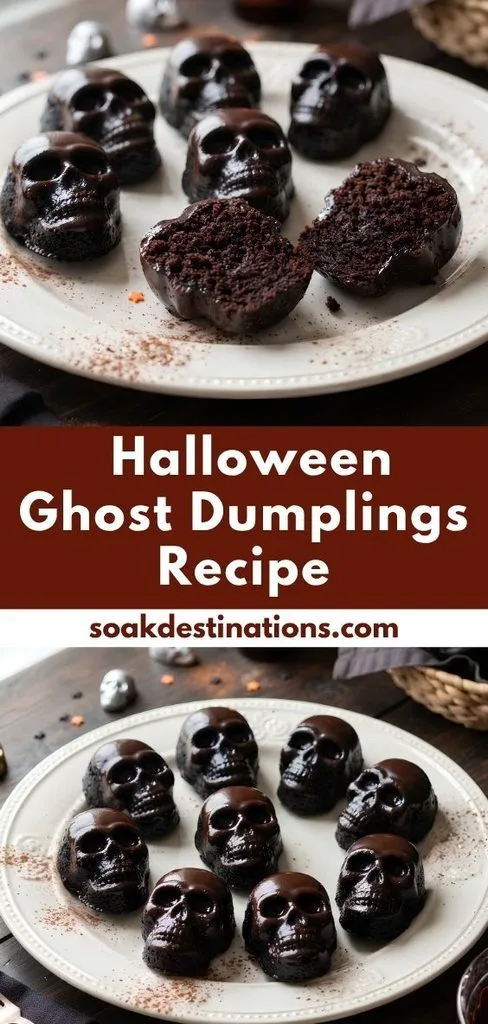
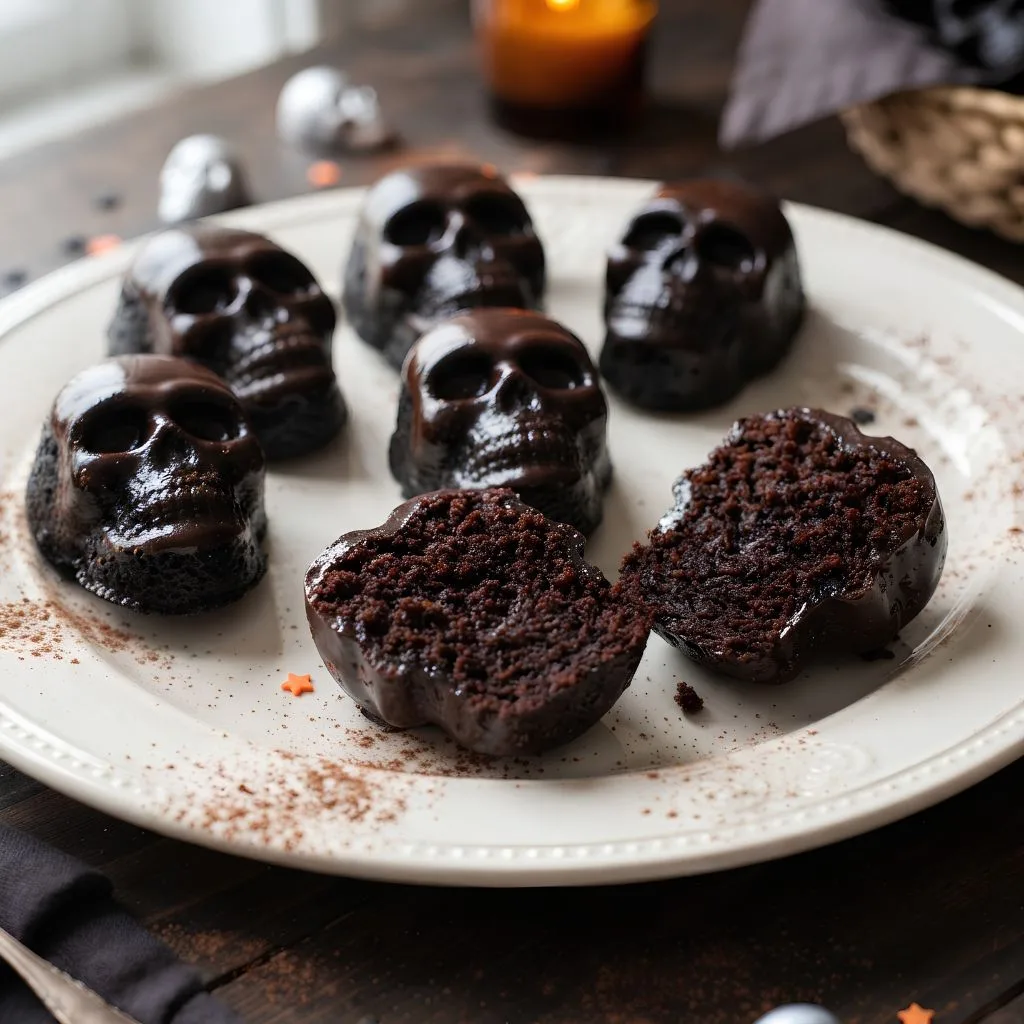
I made this Skeleton Chocolate Cake Recipe cakes for a spooky dessert table, and they turned out wonderfully rich and chocolatey. I loved how the tender cake picked up all the tiny details of the skull-shaped pan. The orange and citrus notes gave the deep chocolate flavor a fun little twist.
I also found that careful pan preparation made a big difference when releasing the cakes. If you are looking for an impressive Halloween dessert, this skeleton chocolate cake recipe is a fun one to try.
Cooking Time
The recipe is designed to make 12 individual skull-shaped cakes. Nordic Ware lists 10 minutes of preparation and 30 minutes of cooking, while the detailed directions give a baking range of 30–35 minutes.
- Prep Time: 10 minutes
- Cooking Time: 30–35 minutes
- Total Time: About 40–45 minutes, depending on baking and cooling
Ingredients
These quantities follow the original Nordic Ware recipe.
- 1½ cups all-purpose flour — Gives the cake its main structure.
- ½ cup cake flour — Helps create a finer, tender crumb.
- 1 cup extra-dark cocoa powder — Provides the deep chocolate flavor and color.
- 2 teaspoons baking powder — Helps the cake rise.
- 1 teaspoon kosher salt — Balances the sweetness and chocolate.
- 1½ cups softened butter — Adds richness and helps create a creamy batter.
- 1 cup granulated sugar — Provides sweetness and contributes to the cake texture.
- ¾ cup packed dark brown sugar — Adds deeper sweetness and richness.
- 4 large eggs — Help bind the batter and provide structure.
- 2 teaspoons vanilla extract — Adds classic dessert flavor.
- 1 teaspoon orange extract — Brings a bright citrus note to the chocolate.
- ½ teaspoon Fiori di Sicilia — Adds another layer of citrus-like flavor.
- 1 cup buttermilk — Adds moisture and helps keep the crumb tender.
- ½ teaspoon black food color, optional — Deepens the cake’s dark appearance.
- 3.5 ounces bittersweet chocolate, chopped — Forms the chocolate glaze.
- ¼ cup heavy cream — Melts with the chocolate into a smooth glaze.
Note: serves 12.
Equipment You Need
The original recipe uses a Nordic Ware Haunted Skull Cakelet Pan along with standard baking equipment.
- Skull cakelet pan — Creates the detailed skull shapes.
- Stand mixer with paddle attachment — Creams the butter and sugars and mixes the batter.
- Mixing bowls — Keeps the dry ingredients and glaze ingredients organized.
- Whisk — Combine the flour, cocoa, baking powder, and salt evenly.
- Spatula — Helps mix the glaze and scrape the bowl.
- Cooling rack — Lets the baked cakelets cool after removing them from the pan.
- Heat-proof bowl — Holds the chopped chocolate while making the glaze.
- Pastry brush or baking spray — Helps thoroughly coat the detailed pan cavities.
How to Make a Skeleton Chocolate Cake Recipe?
This recipe is straightforward, but the skull pan needs a little extra attention.
I recommend preparing every cavity carefully so the baked cakes release cleanly.
The biggest trick is filling each cavity no more than three-quarters full and removing air bubbles before baking.
1. Prepare the Oven and Skull Pan
Preheat the oven to 325°F. Thoroughly prepare the skull cakelet pan with baking spray, or brush it with butter and dust it with cocoa powder. I would pay special attention to the details inside each skull cavity. A well-coated pan makes it easier to preserve the shape when the cakes are inverted.
2. Combine the Dry Ingredients
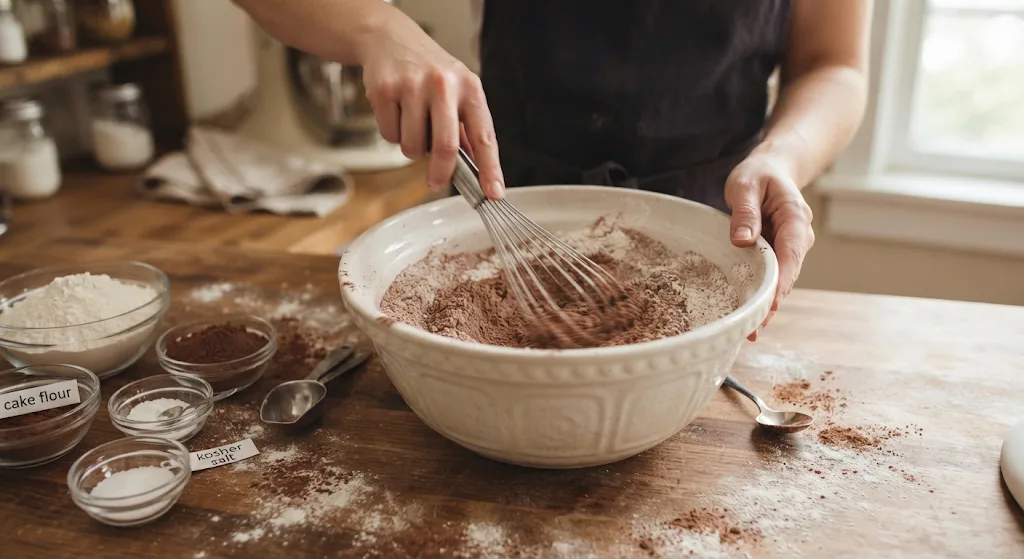
Add the all-purpose flour, cake flour, extra-dark cocoa powder, baking powder, and kosher salt to a bowl. Whisk everything together until evenly combined. This step distributes the cocoa and leavening ingredients throughout the flour mixture. Keep the bowl nearby because the dry mixture will be added gradually later.
3. Cream the Butter and Sugars
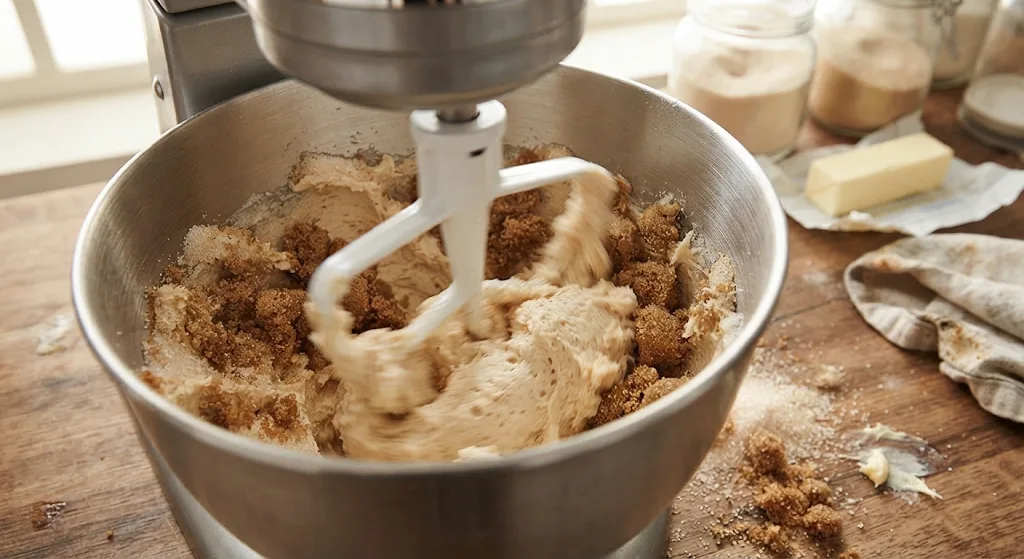
Place the softened butter, granulated sugar, and packed dark brown sugar in the bowl of a stand mixer fitted with a paddle attachment. Mix until the mixture becomes creamy and lighter, which takes about 2–3 minutes. Starting with properly softened butter helps the mixture become smooth. Avoid rushing this stage because it creates the base texture for the cake.
4. Add the Eggs and Extracts
Add the eggs one at a time, mixing well after each addition. Once the eggs are incorporated, mix in the vanilla extract, orange extract, and Fiori di Sicilia. Adding the eggs individually helps them blend into the butter mixture more evenly. The citrus extracts are especially important because they add brightness to the dark chocolate flavor.
5. Alternate the Buttermilk and Dry Ingredients
Turn the mixer to low speed. Add the buttermilk and dry ingredients alternately in four additions, mixing until the batter becomes smooth. I would avoid mixing aggressively once the flour goes in. The goal is a smooth, evenly blended batter without unnecessarily working the mixture.
6. Add Black Food Color
If you want a particularly dark Halloween appearance, add the black food color and mix until you reach your preferred shade. The food coloring is optional, so you can leave it out if you prefer the natural dark chocolate appearance. The original recipe specifically lists the coloring as optional.
7. Fill the Skull Mold
Spoon the batter into the prepared skull pan, filling each cavity no more than three-quarters full. Do not be tempted to fill the cavities to the top. Place the pan on a cutting board covered with a heavy kitchen towel and gently tap it. This helps spread the batter into the details and removes trapped air bubbles.
8. Bake the Cakelets
Bake the skull cakes at 325°F for about 30–35 minutes. The original recipe lists 30 minutes as the cooking time, while the detailed directions specify 30–35 minutes. When the cakes are finished, let them remain in the pan for 5–8 minutes. Then carefully invert them onto a cooling rack and repeat with the remaining batter if necessary.
9. Make the Chocolate Glaze
Place the chopped bittersweet chocolate in a heat-proof bowl. Warm the heavy cream until it just begins to steam, then pour it over the chocolate. Stir gently with a spatula while the chocolate melts. Continue until the mixture becomes smooth and the chocolate has completely melted.
10. Glaze and Decorate
Once the skull cakes have cooled, pour the chocolate glaze over them. Finish them with candy decorations or decorating sprinkles for a festive Halloween presentation. I like the idea of keeping the decoration simple because the molded skull details are already the star. Let the chocolate shape and texture remain visible.
Additional Tips for Making This Recipe Better
I found that the details of a skull-shaped pan deserve more attention than a regular cake pan. These are the things I would focus on when making the recipe again.
- I generously prepare the pan. I make sure the butter or baking spray reaches the small skull details rather than coating only the flat surfaces.
- I never overfill the cavities. Keeping them to three-quarters full helps the skull shapes remain defined.
- I tap the pan before baking. I find that removing air bubbles helps the batter settle into the molded details.
- I use softened butter. It makes the creaming step much smoother and easier.
- I let the cakelets cool briefly before turning them out. The original directions recommend 5–8 minutes in the pan.
- I keep the decorations light. Too many toppings can hide the skull’s molded features.
Common Mistakes to Avoid
These small details can make a noticeable difference when working with a decorative skull pan.
- I avoid under-greasing the pan. Detailed cakelet cavities need thorough preparation so the cakes can be inverted cleanly.
- I don’t fill the molds too high. Overfilled cavities can lose some of their definition as the batter expands.
- I don’t skip tapping the pan. Air bubbles can prevent batter from reaching some of the smaller molded details.
- I don’t turn the cakes out immediately. I give them the recommended 5–8 minutes in the pan before carefully inverting them.
- I don’t glaze the cakes while they’re hot. I let the cakelets cool first so the glaze can sit properly on the surface.
How to Serve Skeleton Chocolate Cake?
These individual skull cakes are made for Halloween gatherings, dessert tables, and spooky celebrations. Their molded shape already provides most of the decoration, so serving them can stay simple.
Arrange the cakes on a large dark-colored serving platter to emphasize their chocolate appearance. Add candy decorations or decorating sprinkles to create a festive finish, just as the original recipe suggests.
For a more dramatic presentation, place the skulls individually around a dessert table. Keeping enough space between them makes the skull details easier to see.

Variations
The original recipe offers several elements that can be adjusted according to the look and flavor you want.
- Extra-dark appearance: I would include the optional black food color for a deeper Halloween look.
- Natural chocolate color: Leave out the black food color if you prefer the cocoa to provide the color naturally.
- Citrus-forward flavor: Keep the orange extract and Fiori di Sicilia for a noticeable citrus accent alongside the chocolate.
- Simpler finish: Skip the glaze and let the detailed chocolate cakelets stand on their own.
- Decorative finish: Add candy decorations or decorating sprinkles after glazing.
- Alternative cakelet pans: The source notes that most cake recipes and mixes can work in Nordic Ware pans, while heavier or denser cakes can show detailed shapes particularly well.
Nutritional Information
Nordic Ware’s published recipe does not provide a nutrition panel, so I would not assign calories or macronutrient numbers without additional nutritional data.
- Calories: Not provided in the source recipe.
- Protein: Not provided in the source recipe.
- Carbohydrates: Not provided in the source recipe.
- Fat: Not provided in the source recipe.
Make Ahead and Storage
Make Ahead
I would bake the skull cakes ahead of the Halloween gathering and let them cool completely before decorating. The glaze can then be added once the cakelets are ready for presentation.
Storage
The provided Nordic Ware recipe does not specify a refrigerator or room-temperature storage duration. For that reason, I would avoid claiming a specific freshness period that is not given in the source.
Reheating
The source does not provide reheating instructions. Since these are small individual cakes, I would serve them once prepared rather than adding an unverified reheating method.
Freezing
The original recipe also does not provide freezing instructions. If freezing is important for your schedule, it is best to use a tested storage method rather than assume one from this recipe.
Why You’ll Love This Recipe?
These skull cakes combine a rich chocolate base with a fun presentation, making them especially suited to Halloween dessert tables.
- The shape does the decorating for you. I love that the skull cakelet pan creates a dramatic presentation without requiring complicated cake-carving skills.
- The chocolate flavor is rich. Extra-dark cocoa and bittersweet chocolate give the dessert a distinctly chocolate-focused character.
- The citrus adds something different. I like the combination of orange extract and Fiori di Sicilia because it gives the dark chocolate flavor a bright contrast.
- They are individual portions. The recipe makes 12 cakes, which makes serving guests straightforward.
- They are easy to customize visually. I can keep them simple with just glaze or add candy decorations and sprinkles for a more playful Halloween look.
FAQs
Can I leave out the black food coloring?
Yes. The recipe lists black food color as optional, so the cakes can be made without it. The dark cocoa already provides a deep chocolate appearance.
What pan should I use for this skeleton chocolate cake recipe?
The original recipe uses Nordic Ware’s Haunted Skull Cakelet Pan. The pan is specifically designed to create the detailed skull-shaped cakes.
How full should I make the skull cake mold?
I fill each cavity no more than three-quarters full. This leaves room for the batter to rise without overwhelming the molded skull details.
How long should the skull cakes cool before removing them?
The recipe recommends allowing the cakelets to cool in the pan for 5–8 minutes before inverting them onto a cooling rack.
Can I decorate these for Halloween?
Absolutely. The original recipe recommends finishing the cooled cakes with the chocolate glaze and decorating them with candy decorations or decorating sprinkles.
Final Thoughts
I think this skeleton chocolate cake recipe is a particularly fun choice when you want a Halloween dessert that looks more elaborate than it actually is. The combination of dark chocolate, citrus notes, detailed skull shapes, and a simple chocolate glaze creates a dessert that feels festive without requiring complicated decorating skills.
If you’re searching for skull cake ideas, easy skull cake ideas, Halloween skull cakes, or easy Nordic Ware skull pan recipes, this recipe gives you a strong starting point. The most important lessons I took from making it are simple: prepare the pan thoroughly, avoid overfilling, remove air bubbles, and let the cakes cool before turning them out.