Lemon Dill Chicken Recipe: Bright, Buttery & So Easy

I made this Lemon Dill Chicken Recipe on a random Tuesday when I had nothing planned for dinner and barely any groceries left in the fridge. One bite of that bright, garlicky pan sauce and I knew it was going into my regular rotation. It takes one skillet, about thirty minutes, and a handful of ingredients you probably already have on hand.
I love how the lemon juice cuts through the richness of the sauce while the fresh dill keeps everything tasting light and fresh. If you have been searching for a simple, weeknight-friendly chicken dinner that still feels a little special, this is the one I keep coming back to.

Cooking Time
- Prep Time: 10 minutes
- Cooking Time: 20 minutes
- Total Time: 30 minutes
Ingredients
- 4 boneless, skinless chicken breasts (1 to 1¼ pounds) – the star of the dish, pound them to an even thickness so they cook uniformly
- Salt and freshly ground pepper, to taste – seasons the chicken from the inside out before it ever hits the pan
- 3 teaspoons extra-virgin olive oil, divided – used for searing the chicken and softening the onion and garlic
- ¼ cup finely chopped onion – builds a mellow, sweet base flavor for the sauce
- 3 cloves garlic, minced – use fresh cloves instead of jarred for a much brighter, sharper flavor
- 1 cup reduced-sodium chicken broth – forms the body of the sauce without making it overly salty
- 2 teaspoons flour – thickens the broth into a silky, spoonable sauce
- 2 tablespoons chopped fresh dill, divided – fresh dill has a much cleaner flavor than dried, so avoid substituting if you can
- 1 tablespoon fresh lemon juice – adds the signature brightness, so skip the bottled stuff if possible
Note: Serves 4
Equipment You Need
- Large heavy skillet – for searing the chicken and building the pan sauce in one pot
- Cutting board – for prepping the onion, garlic, and dill
- Sharp knife – for mincing garlic and chopping onion and dill finely
- Measuring cups and spoons – for accurately portioning broth, oil, and flour
- Whisk – for smoothing out the flour and broth so the sauce stays lump-free
- Tongs – for flipping and moving the chicken without piercing it
- Meat thermometer – for checking that the chicken has reached a safe internal temperature
How to Make Lemon Dill Chicken Recipe?
This recipe comes together in one skillet from start to finish, so there is very little cleanup involved. I like to have everything prepped and measured out before I turn on the stove, since the sauce moves quickly once it starts. Here is exactly how I put it all together.
Season and Sear the Chicken
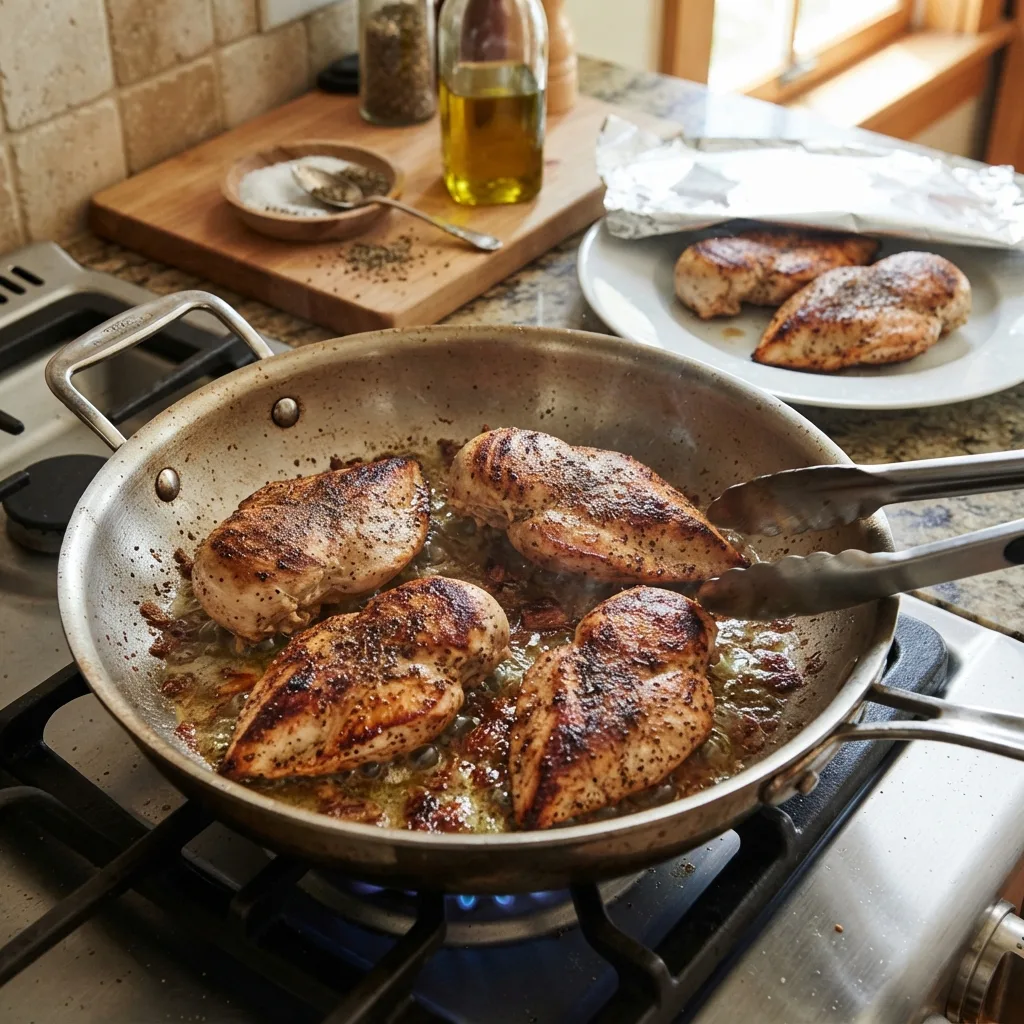
I start by patting the chicken breasts dry and seasoning both sides generously with salt and pepper. Heat about two teaspoons of the olive oil in a large skillet over medium-high heat until it shimmers. Add the chicken and sear for four to five minutes per side until golden brown, then transfer it to a plate and tent it loosely with foil.
Soften the Onion and Garlic
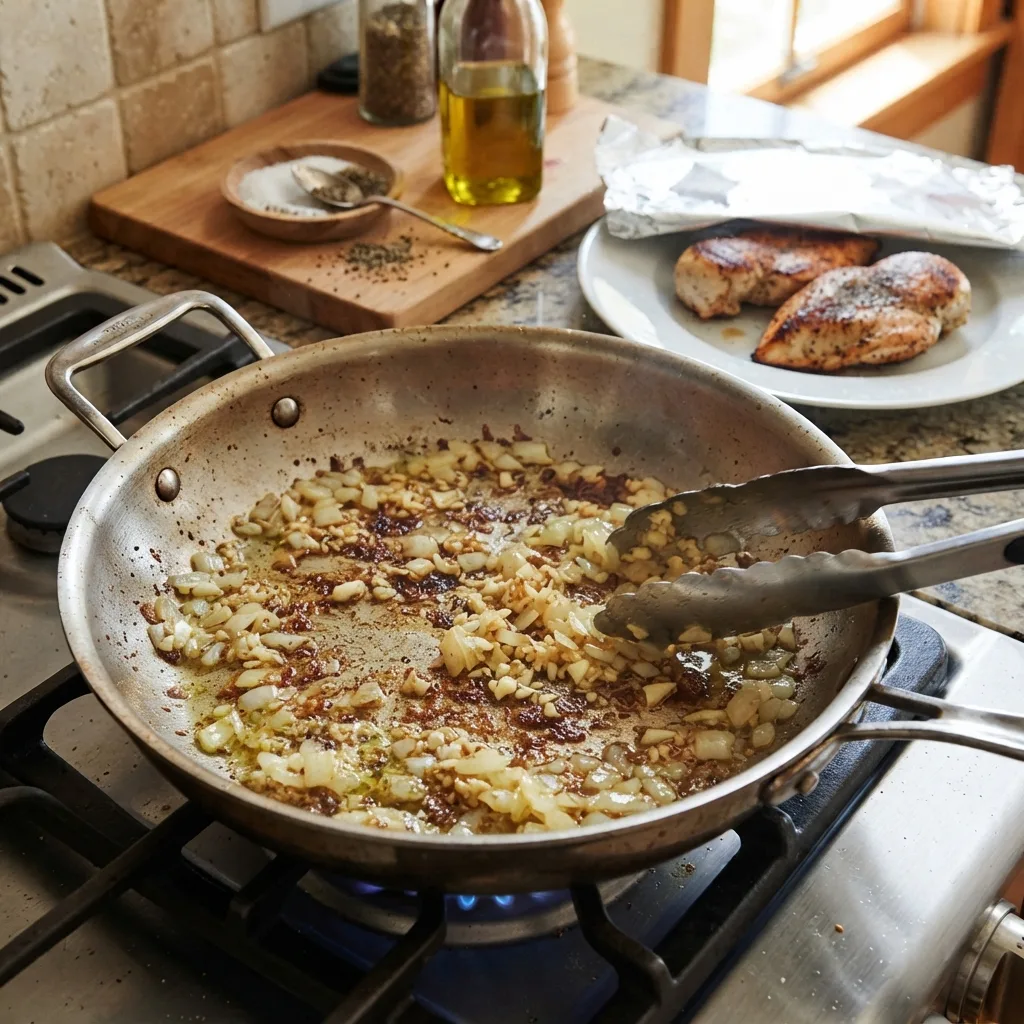
In the same skillet, lower the heat to medium and add the remaining teaspoon of oil. Toss in the chopped onion and cook for about a minute, stirring often so it does not catch on the browned bits left behind. Add the minced garlic and cook for another thirty seconds, just until it turns fragrant and golden.
Build the Lemon Dill Sauce
Whisk the chicken broth and flour together in a small bowl until smooth, then pour it into the skillet with the onion and garlic. Stir constantly as it comes to a simmer, letting it thicken slightly over two to three minutes. Stir in the lemon juice along with half of the chopped dill for that first hit of brightness.
Simmer the Chicken in the Sauce
Nestle the seared chicken breasts back into the skillet along with any juices that collected on the plate. Reduce the heat to low, cover, and let everything simmer gently for about five minutes, or until the chicken is cooked through and no longer pink in the center. Spoon the sauce over the top a few times as it cooks.
Finish and Serve
Check that the chicken has reached an internal temperature of 165°F using a meat thermometer, then turn off the heat. Sprinkle the remaining fresh dill over the chicken and sauce right before serving so it stays vibrant and fragrant. Plate the chicken with plenty of sauce spooned on top while everything is still warm.
Additional Tips for Making This Recipe Better
I have made this dish enough times to pick up a few tricks that make a real difference.
- I always pound my chicken breasts to an even thickness first, which stops the thinner ends from drying out before the thicker parts finish cooking.
- I like adding a splash more chicken broth if my sauce reduces too quickly, since it keeps everything from turning gluey.
- I taste the sauce before serving and adjust the lemon and salt, because the tartness can vary a lot depending on how juicy my lemon is.
- I hold back a portion of the dill until the very end, which keeps the flavor tasting fresh instead of cooked down and dull.
- I let the chicken rest on the plate for a few minutes after searing, which helps it stay juicier once it goes back into the sauce.
Common Mistakes to Avoid
- I used to crowd the skillet with all four chicken breasts at once, and it steamed the meat instead of giving it a good sear.
- I learned the hard way that skipping the whisking step leaves lumps of flour in the sauce, so I always whisk the broth and flour together first.
- I once used dried dill instead of fresh, and the flavor came out flat and a little musty compared to the bright fresh version.
- I have overcooked the chicken more than once by guessing instead of checking the temperature, so now I always use a thermometer.
- I made the mistake of adding all the lemon juice too early, which mellowed out the brightness I wanted in the final dish.
How to Serve Lemon Dill Chicken?
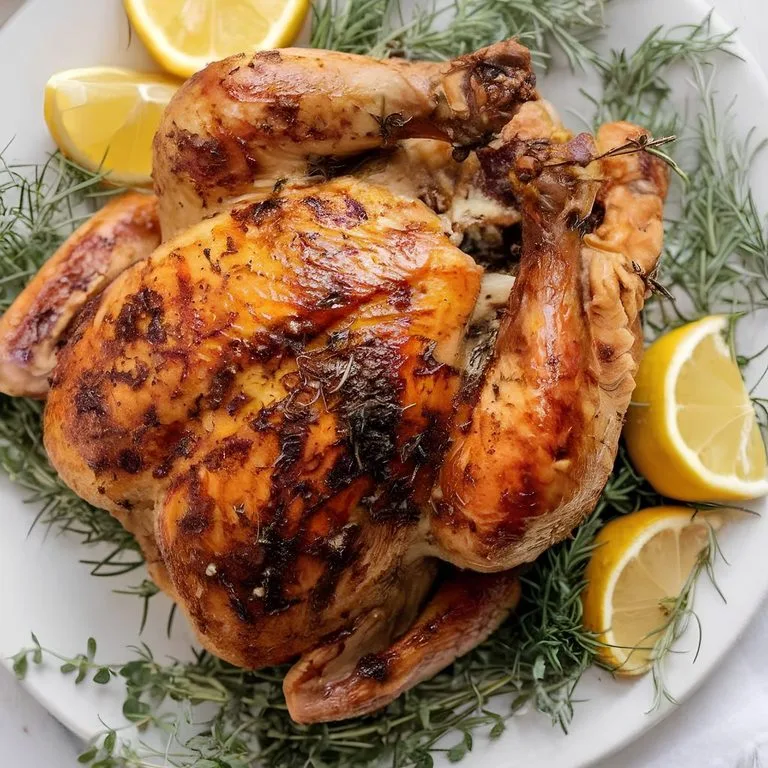
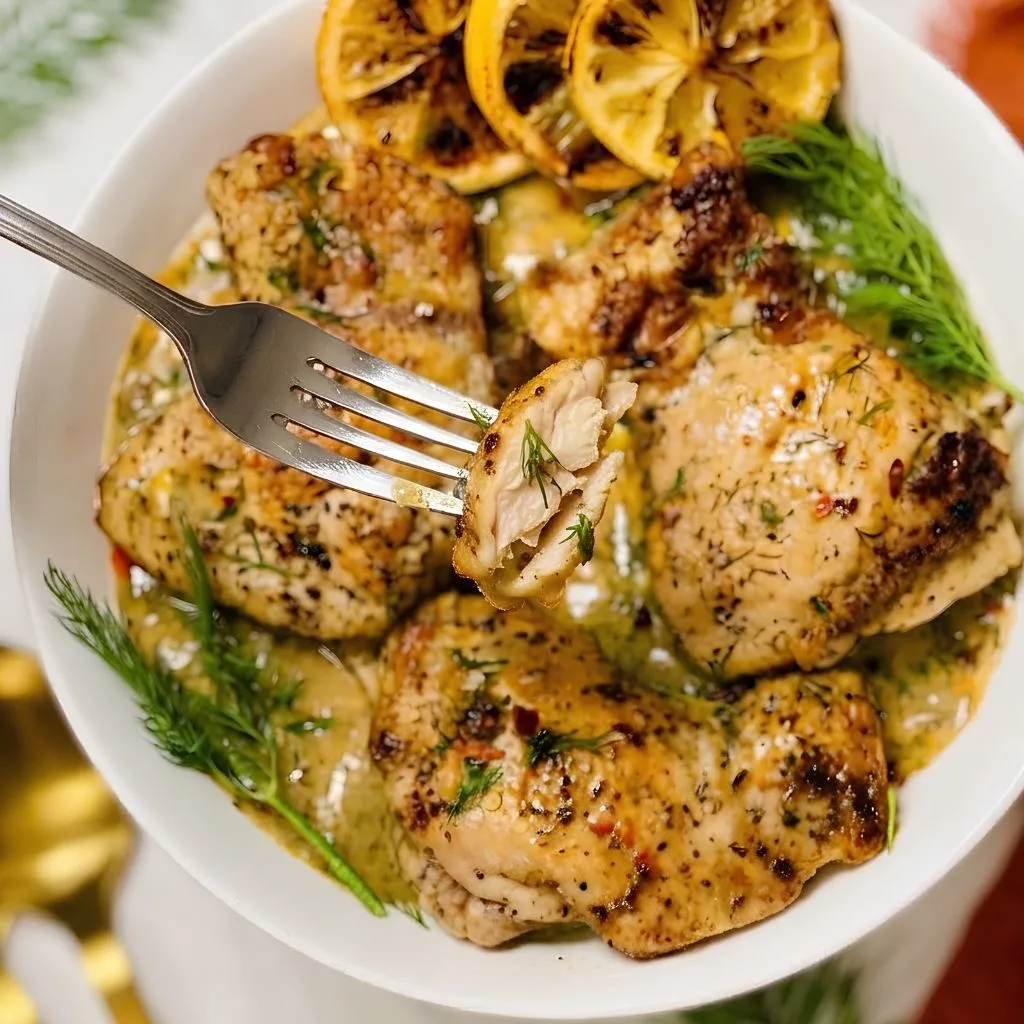
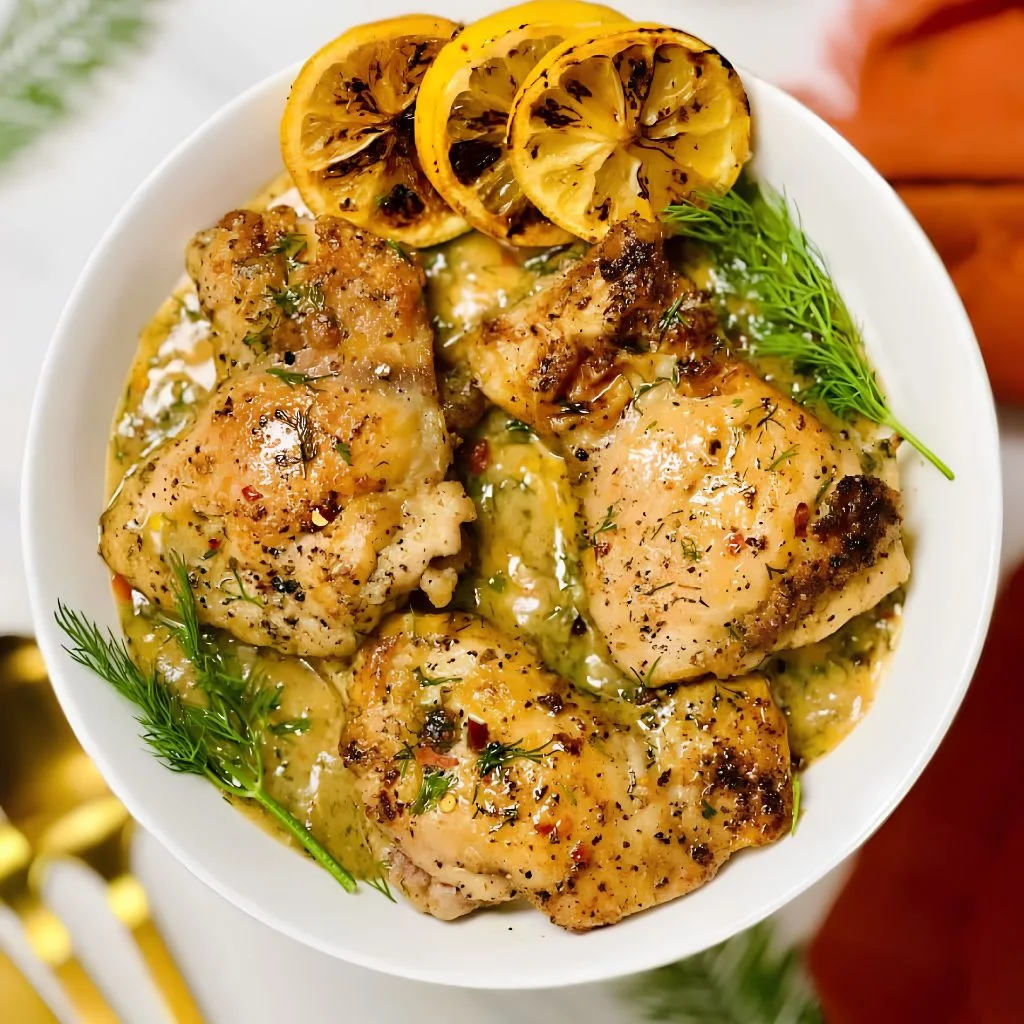
I like to slice the chicken on a slight diagonal so the sauce can pool nicely into the cuts, then arrange the pieces over a bed of rice, buttered orzo, or mashed potatoes. A few extra sprigs of fresh dill and a couple of thin lemon slices scattered on top make the whole plate look far more put together than the effort involved.
Roasted broccoli, asparagus, or a simple green salad on the side balances out the richness of the sauce. For a slightly heartier presentation, I sometimes spoon the chicken and sauce right over roasted baby potatoes, which turns it into an easy lemon dill chicken and potatoes style dinner in one pan.
Variations
- Swap the flour-thickened broth for a splash of heavy cream to make a creamy lemon dill chicken sauce with a richer, silkier texture.
- Use bone-in chicken thighs instead of breasts and finish the dish in the oven for a version of baked lemon dill chicken with crispier skin.
- Try lemon dill chicken thighs oven-roasted at 400°F for about 35 minutes if you prefer hands-off cooking over stovetop simmering.
- Stir in a spoonful of yogurt at the end for a tangy, creamy dill chicken recipe that leans a little lighter than heavy cream.
- Add a pinch of garam masala and a touch of ginger for a dill chicken indian recipe twist that still keeps the lemon and dill front and center.
- Toss in sliced mushrooms with the onion for extra earthiness and texture in the sauce.
Nutritional Information
Here is roughly what you can expect per serving of this dill chicken breast recipe, based on four servings total.
- Calories: 170
- Protein: 24 grams
- Carbohydrates: 6 grams
- Fat: 3 grams
Make Ahead and Storage
You can season and sear the chicken up to a day in advance, then store it covered in the refrigerator until you are ready to finish it in the sauce. This dish keeps well in an airtight container in the fridge for up to three days without losing much flavor.
To reheat, warm the chicken and sauce gently in a covered skillet over low heat, adding a splash of broth if the sauce has thickened too much. Freezing is possible, though the sauce may separate slightly, so I recommend freezing the chicken and sauce together in a freezer-safe container for up to two months and thawing overnight in the fridge before reheating slowly on the stove.
Why You’ll Love This Recipe?
This lemon dill chicken recipe has earned a permanent spot in my dinner rotation for a few solid reasons.
- It comes together in one skillet in about thirty minutes, which makes it an easy pick for busy weeknights when I do not want a sink full of dishes.
- The ingredient list is short and mostly pantry staples, so I rarely have to make a special trip to the store to pull this together.
- It is easy to customize into a baked dill chicken recipe or swap in thighs, cream, or yogurt depending on what I am craving that day.
- The bright lemon and fresh dill combination feels light enough for spring and summer but still comforting enough for a cold weeknight.
- It reheats well, so I often make a double batch and enjoy the leftovers for lunch the next day without any loss in flavor.
FAQs
Can I use chicken thighs instead of chicken breasts?
Yes, boneless or bone-in chicken thighs work well in this recipe and tend to stay a little juicier than breasts.
Can I substitute dried dill for fresh dill?
You can use about one teaspoon of dried dill in place of the fresh, though the flavor will be milder and slightly less bright.
How do I know when the chicken is fully cooked?
The safest way is to check with a meat thermometer and look for an internal temperature of 165°F at the thickest part.
Can I make this recipe dairy-free?
Yes, the base recipe is already dairy-free, and you only need to skip the cream variation if you want to keep it that way.
What can I serve with lemon dill chicken?
Rice, buttered orzo, mashed or roasted potatoes, and a simple green vegetable all pair nicely with the lemon dill sauce.