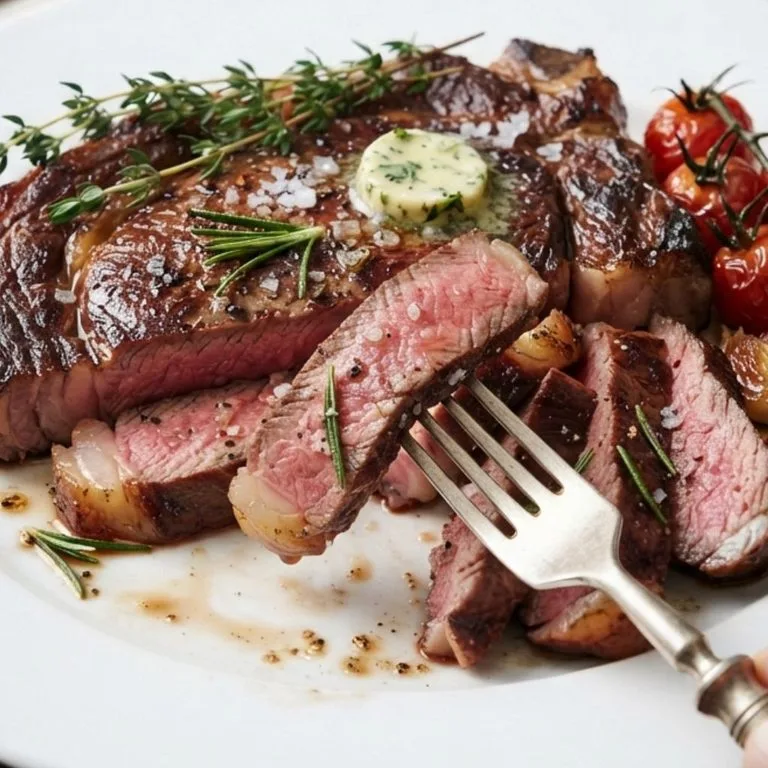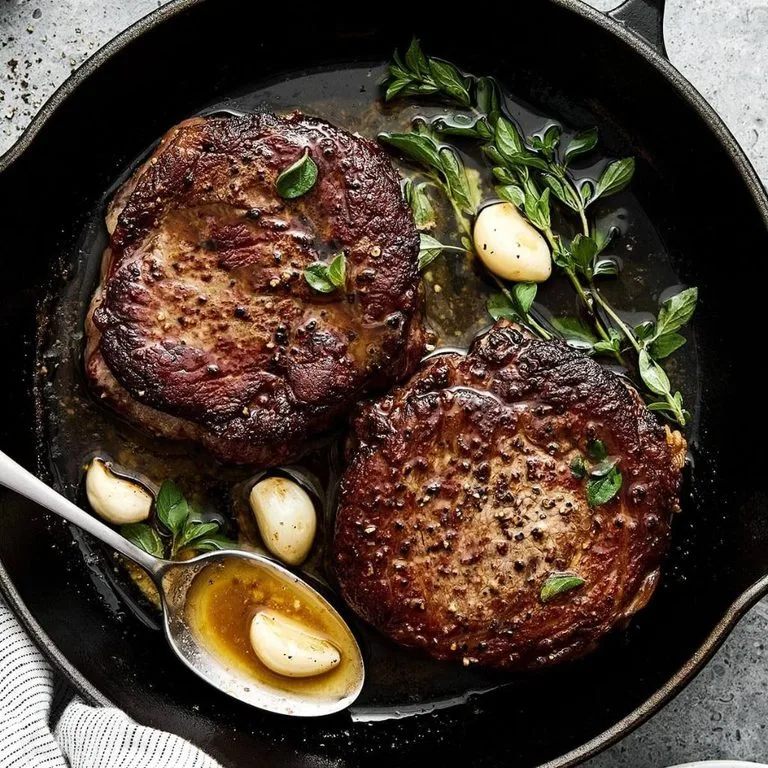
Pan Seared Sirloin Steak Recipe: Juicy, Tender & Garlic Butter

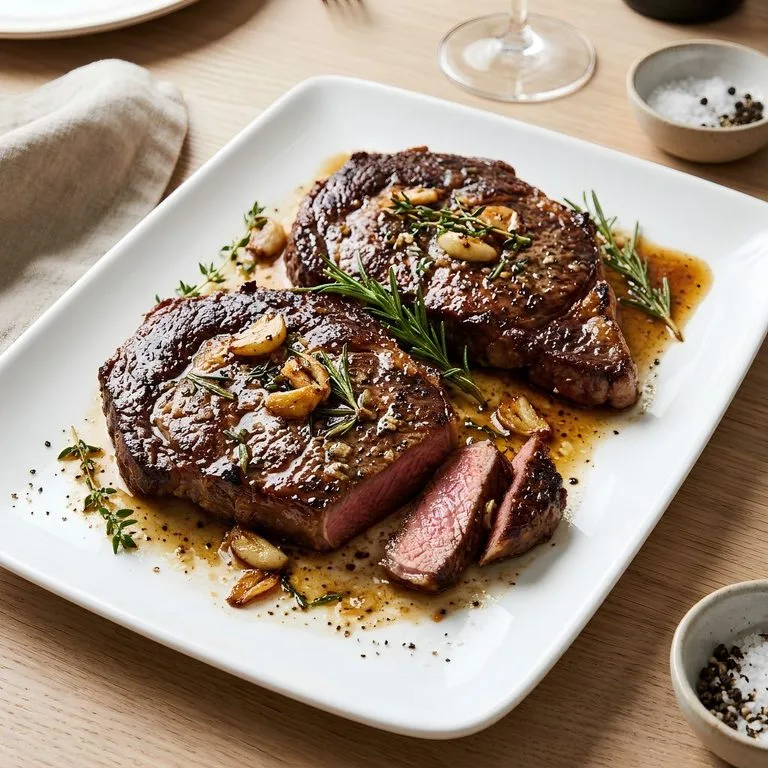
I love making this Pan Seared Sirloin Steak Recipe whenever I want a restaurant-style dinner without spending hours in the kitchen. When I first started cooking sirloin, I struggled to keep it tender and juicy, but I soon discovered that the right heat makes all the difference. Now, I sear the steak in a hot skillet, then finish it with buttery garlic and fresh herbs for incredible flavor.
The golden-brown crust, juicy center, and rich garlic butter turn a simple cut of beef into something truly special. If you want an easy steak dinner with simple ingredients and delicious results, this recipe is one I keep coming back to!
Cooking Time
This recipe is quick enough for a weeknight dinner but impressive enough for a special occasion.
- Prep Time: 10 minutes
- Cooking Time: 8 minutes
- Resting Time: 10 minutes
- Total Time: 28 minutes
- Servings: 2
Ingredients for Pan Seared Sirloin Steak
I keep the ingredients simple because a good sirloin steak already has plenty of natural beef flavor. Each ingredient adds something important to the finished dish.
- 21 ounces sirloin steak (about 2 large steaks): Choose thick, fresh top sirloin steaks with a little marbling for better flavor and tenderness.
- 2 teaspoons kosher salt: Seasons the beef and helps create a flavorful crust; adjust to taste.
- 1 teaspoon freshly cracked black pepper: Adds a gentle kick and complements the rich beef flavor.
- 1 tablespoon neutral oil: Use avocado oil or light olive oil because both work well for high-heat searing.
- 4 tablespoons unsalted butter: Creates a rich, silky garlic butter without making the steak overly salty.
- 4 garlic cloves: Lightly crush 2 cloves and thinly slice the other 2 for a deeper, more balanced garlic flavor.
- 2 tablespoons fresh thyme leaves: Add an earthy, aromatic flavor that pairs beautifully with beef.
- 2 tablespoons fresh parsley, finely chopped: Stir it in at the end for a fresh taste and attractive finish.
Note: Serves 2 people with the quantities listed above. Increase the ingredients proportionally if you are cooking for more guests.
Equipment You Need
The right equipment makes this pan seared steak recipe easier and helps you achieve a beautifully browned exterior.
- Heavy cast-iron or stainless-steel skillet: Retains heat and creates a deep, golden-brown crust.
- Kitchen tongs: Let you flip the steak and handle the edges without piercing the meat.
- Paper towels: Remove surface moisture so the steak sears instead of steams.
- Instant-read meat thermometer: Checks the internal temperature for reliable doneness.
- Tablespoon and teaspoon measures: Help you measure the oil, butter, herbs, and seasonings accurately.
- Cutting board: Provides a clean surface for resting and slicing the cooked steak.
- Sharp chef’s knife: Makes it easier to slice the steak thinly against the grain.
- Spoon: Helps you baste the steak with hot garlic herb butter.
How to Make a Pan Seared Sirloin Steak Recipe?
Making juicy sirloin steak at home is easier than you might think. My method combines a hot skillet, a quick sear, and flavorful garlic butter to deliver a steakhouse-style finish. Follow these simple steps, and use a thermometer to help you cook the steak to your preferred doneness.
Step 1: Prepare the Sirloin Steak
Remove the steaks from the refrigerator about 30–45 minutes before cooking, while keeping food safety in mind. Pat every side thoroughly dry with paper towels, including the edges.
Season generously with kosher salt and black pepper. Press the seasoning gently into the meat so it sticks and distributes evenly.
Step 2: Heat the Skillet
Place a heavy cast-iron or stainless-steel skillet over medium-high heat. Let it heat thoroughly before adding the oil.
Pour in the neutral oil and swirl it around to coat the bottom. When the oil shimmers, the pan is ready for searing.
Step 3: Sear the First Side
Carefully place the steaks in the hot skillet, leaving enough space between them. Let them cook undisturbed for approximately 3–4 minutes.
Avoid moving the steaks around because uninterrupted contact with the pan encourages a deep brown crust. If a steak sticks, give it a little more time before attempting to turn it.
Step 4: Flip and Sear the Other Side
Use tongs to flip each steak once the first side has developed a rich, caramelized crust. Sear the second side for another 3–4 minutes, depending on thickness and your preferred doneness.
For thicker steaks, the center may need additional cooking beyond the initial sear. Check the internal temperature rather than relying on timing alone.
Step 5: Add Garlic, Butter, and Herbs
Reduce the heat to medium or medium-low, then add the butter, crushed garlic, sliced garlic, and thyme. Allow the butter to melt and foam gently without turning dark brown.
Tilt the skillet slightly and spoon the fragrant butter over the steaks repeatedly for about 1–2 minutes. This basting step adds flavor, moisture to the surface, and a glossy steakhouse-style finish.
Step 6: Check the Internal Temperature
Insert an instant-read thermometer into the thickest part of each steak without touching the pan. For medium-rare, many cooks aim for a final temperature of approximately 130–135°F, while medium is around 140–145°F.
Remember that the temperature rises slightly while the steak rests. For food safety, the USDA recommends cooking whole cuts of beef to 145°F and resting them for at least 3 minutes; choose your cooking temperature with that guidance in mind.
Step 7: Rest the Steak
Transfer the steaks to a clean cutting board and let them rest for about 5–10 minutes. Avoid cutting into them immediately because resting gives the juices time to redistribute.
Keep the steaks loosely covered if needed, but avoid wrapping them tightly because trapped steam can soften the crust. This small step makes a noticeable difference in the finished texture.
Step 8: Slice and Serve with Garlic Butter
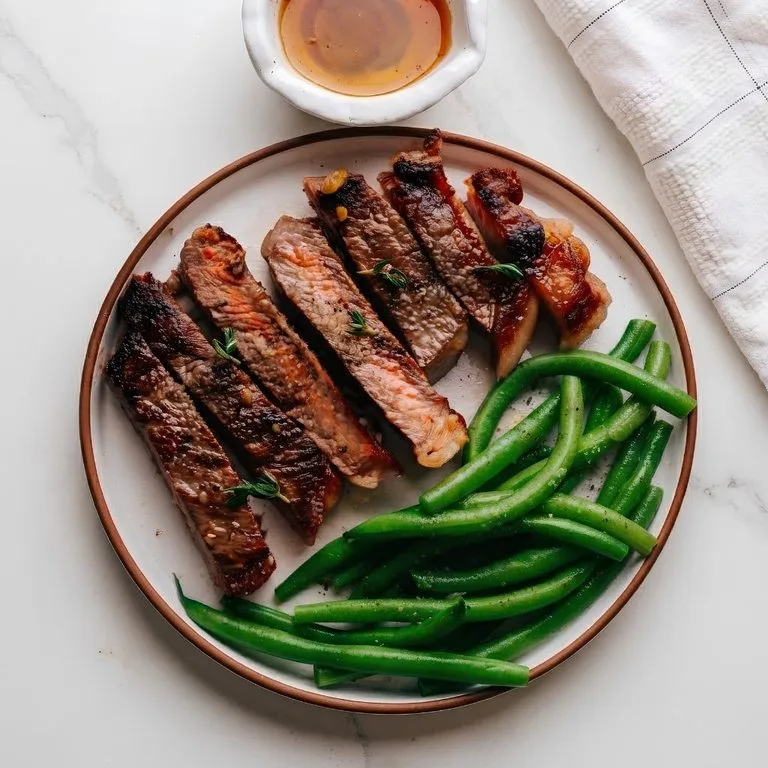
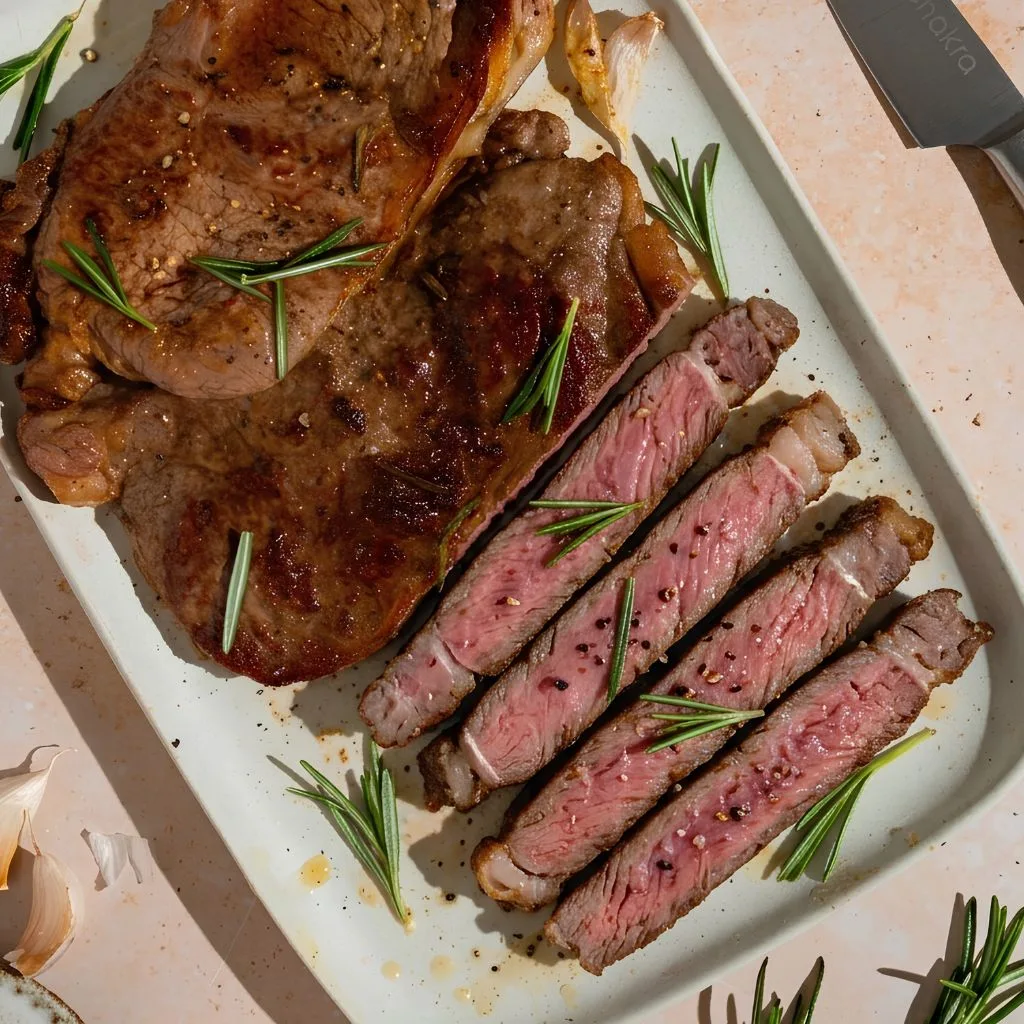
Slice the rested steak against the grain into thin strips. Cutting across the visible muscle fibers helps make each bite easier to chew.
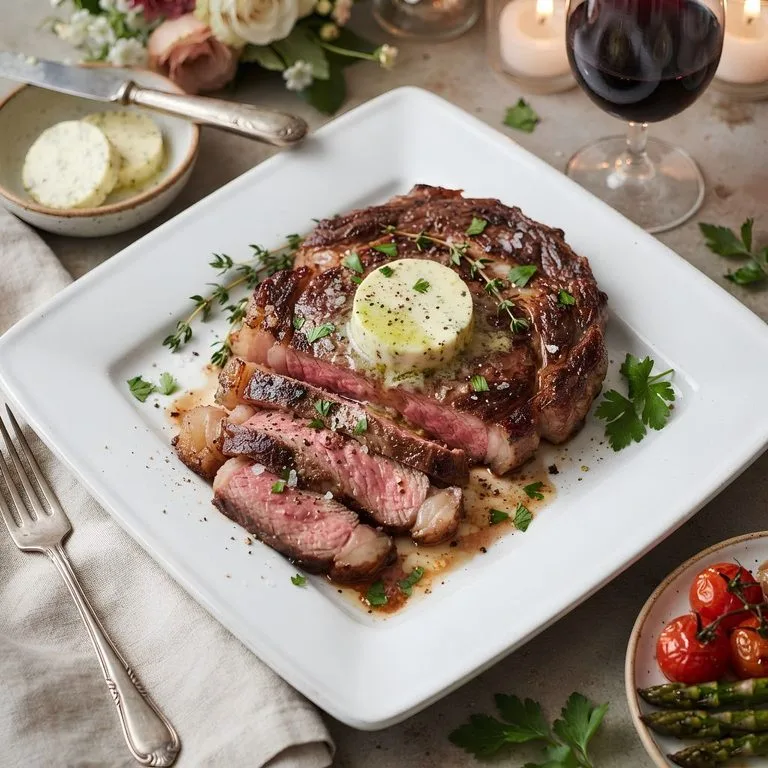
Stir the chopped parsley into the remaining warm garlic butter, then spoon it over the sliced steak. Finish with a little extra parsley and flaky salt if desired, and serve immediately.
Additional Tips for Making This Recipe Better
These are the details I pay attention to when I want a delicious, tender steak with a crisp exterior.
- I always dry the steak thoroughly. Even a little surface moisture can prevent proper browning, so I use paper towels before seasoning.
- I heat the skillet before adding the beef. A properly heated pan helps the steak develop a deep crust before the center overcooks.
- I use oil first and butter later. Oil handles the initial high heat better, while butter adds richness during the final minutes.
- I keep the garlic from burning. Adding garlic after reducing the heat prevents bitter flavors from ruining the butter.
- I use a thermometer instead of guessing. Steak thickness and stove temperatures vary, so checking the center is more reliable than following a timer alone.
- I never skip resting time. Giving the steak several minutes to rest helps preserve its juices when sliced.
- I cut against the grain. This simple finishing technique helps keep lean sirloin from feeling unnecessarily chewy.
- I avoid overcrowding the skillet. Cooking in batches when necessary helps maintain high heat and encourages better browning.
Common Mistakes to Avoid
A few small mistakes can turn a promising steak into a dry or chewy dinner. Here is what I watch out for.
- Starting with wet steak: I always pat the meat dry first because moisture encourages steaming instead of searing.
- Using butter over very high heat: I add butter near the end so its milk solids do not burn before the crust develops.
- Overcooking the beef: I monitor the internal temperature carefully because lean sirloin can become tough when cooked too long.
- Cutting immediately after cooking: I let the steak rest before slicing to help retain its juices.
- Slicing with the grain: I look for the direction of the muscle fibers and cut across them for more tender bites.
How to Serve Pan Seared Sirloin Steak
A beautifully cooked steak deserves a presentation that makes it look as good as it tastes. I like to serve the slices on a warm plate and spoon the garlic herb butter over the top just before bringing everything to the table.
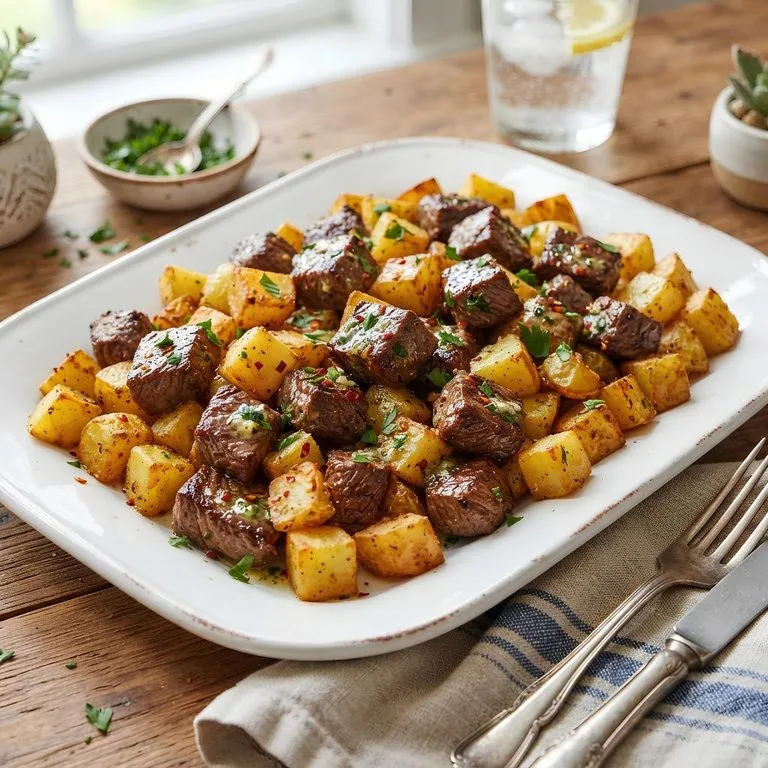
- Classic steakhouse dinner: Serve with roasted potatoes, creamy mashed potatoes, or crispy potato wedges.
- Fresh and colorful plate: Add steamed broccoli, asparagus, green beans, or roasted carrots.
- Lighter meal: Slice the steak over a green salad with cherry tomatoes, cucumber, and a tangy vinaigrette.
- Hearty dinner bowl: Pair the beef with rice, roasted vegetables, and the leftover garlic butter.
- Beautiful finishing touches: Sprinkle chopped parsley over the steak and add a little flaky sea salt for contrast.
- Saucy presentation: Spoon the garlic butter around the steak rather than completely covering the crust, keeping the browned surface visible.
For an extra restaurant-style touch, slice the steak just before serving and arrange the strips slightly overlapping. The pink center, browned edges, and fresh green herbs create an appetizing contrast.
Variations
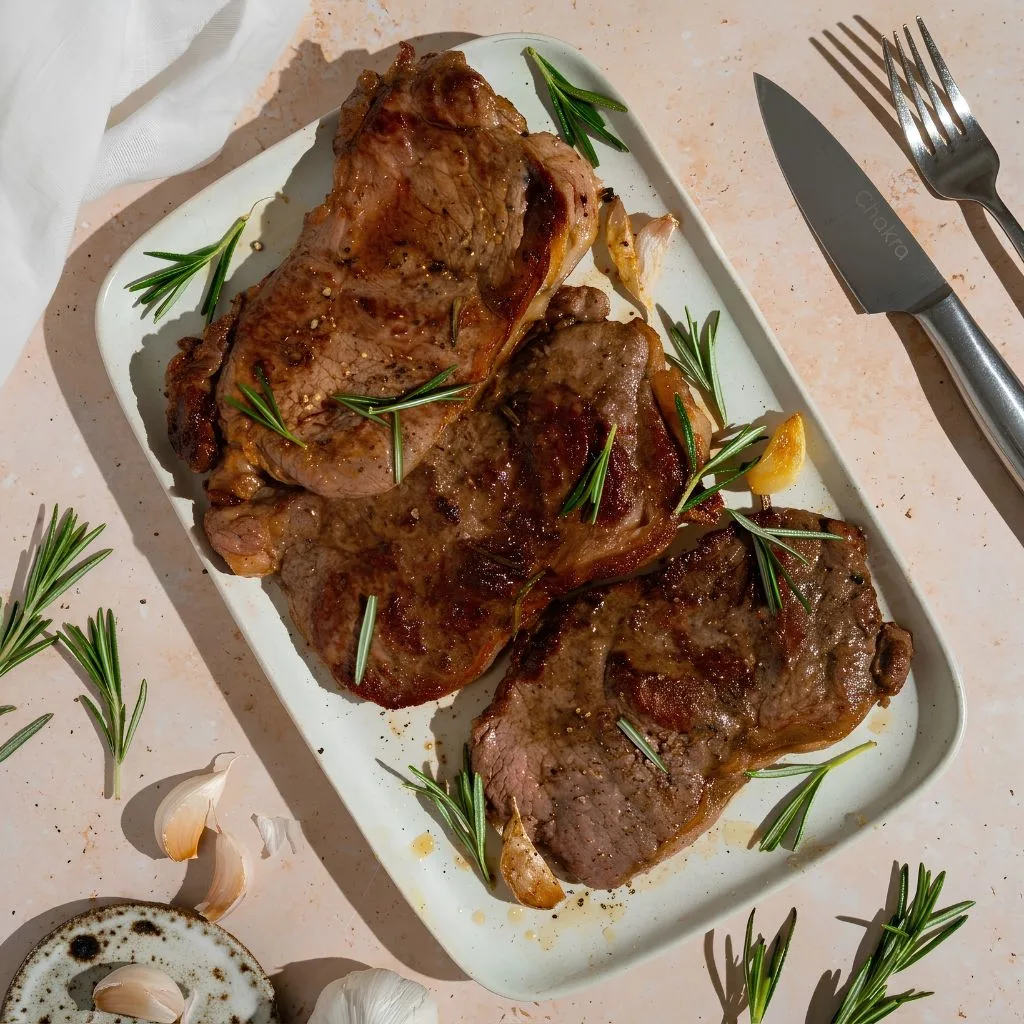
One of my favorite things about this recipe is how easily I can change the flavor without making the cooking process complicated.
- Rosemary garlic steak: Replace the thyme with fresh rosemary for a stronger, woodsy aroma.
- Spicy steak: Add a pinch of crushed red pepper flakes or cayenne to the butter.
- Lemon herb steak: Finish with a small squeeze of fresh lemon juice to balance the richness.
- Dairy-free version: Replace butter with a plant-based butter alternative suitable for cooking, or use olive oil with extra herbs.
- Chili butter steak: Stir a little chili paste or smoked paprika into the butter for a deeper, spicier finish.
- Mushroom steak: Sauté sliced mushrooms in the skillet after removing the cooked steaks, then serve them with the garlic butter.
- Peppercorn steak: Add coarsely crushed peppercorns and prepare a simple pan sauce with beef broth.
- Oven-finished steak: For thicker sirloin, sear both sides in an oven-safe skillet, then transfer the skillet to a preheated oven until the desired internal temperature is reached. Check frequently to avoid overcooking.
- Sugar-free steak: The basic recipe is naturally free of added sugar, so no special substitution is necessary.
Nutritional Information
The following figures are approximate estimates per serving, based on the source recipe’s nutrition information. Actual values can vary with steak size, trimming, and how much butter is consumed.
- Calories: 684 kcal
- Protein: 66 g
- Carbohydrates: 5 g
- Fat: 44 g
Make Ahead and Storage
This steak tastes best freshly cooked, but I can still make good use of leftovers with a few simple storage practices.
Make Ahead
I like to measure the seasonings, prepare the garlic, and chop the herbs before cooking. Store the prepared ingredients separately in the refrigerator as needed, then sear the steak just before serving for the best crust.
Refrigeration
Let leftover steak cool briefly, then transfer it to an airtight container and refrigerate promptly. It is best used within 3 days; avoid leaving cooked beef at room temperature for more than 2 hours, or 1 hour when temperatures exceed 90°F.
Reheating
I reheat leftover steak gently in a covered skillet over low heat with a small amount of butter or broth. Warm it just until heated through, since prolonged high heat can make sirloin tough and dry.
Freezing
Wrap cooled steak tightly, place it in a freezer-safe bag or container, and freeze for up to 2 months for best quality. Thaw it in the refrigerator overnight before reheating gently, and avoid repeatedly freezing and thawing the same portion.
Why You’ll Love This Recipe
This pan seared sirloin steak recipe proves that a memorable dinner does not require a long ingredient list or complicated techniques.
- Quick enough for busy evenings: I can prepare the steak with everyday ingredients and have dinner ready in around 30 minutes, including resting time.
- Rich, steakhouse-style flavor: The combination of a browned crust, fresh garlic, butter, and herbs creates a satisfying finish without needing a complicated sauce.
- Budget-friendly and versatile: Sirloin is often a practical alternative to more expensive steak cuts and works well in salads, sandwiches, bowls, or classic dinner plates.
- Easy to customize: I can switch herbs, add spice, prepare a pan sauce, or use dairy-free butter alternatives to suit different tastes.
- Simple cooking techniques: Drying, searing, basting, resting, and slicing against the grain are useful skills I can apply to many other cuts of beef.
FAQs
1. How do I cook sirloin steak in a pan medium rare?
For a roughly 1-inch-thick steak, start with about 3–4 minutes per side in a hot skillet, then check the center with a thermometer. Cooking time varies, so use temperature rather than timing alone to judge doneness.
2. Should I pan fry steak in butter or oil?
I recommend using both. Start with a high-heat oil to sear the steak, then add butter, garlic, and herbs near the end for flavor without burning the butter.
3. Can I use the pan-seared steak then oven method?
Yes. Sear the steak on both sides in an oven-safe skillet, then transfer it to a preheated oven to finish cooking. This method is especially useful for thick steaks, but check the internal temperature regularly.
4. Do I need to marinate sirloin steak before cooking?
No, a marinade is optional. Salt, pepper, and garlic herb butter provide plenty of flavor, while a marinade can be useful if you want a different seasoning profile.
5. How do I keep pan-seared sirloin steak tender?
I avoid overcooking the steak, let it rest before slicing, and cut against the grain. Choosing a good-quality top sirloin steak and allowing the pan to heat properly also helps produce a tender, juicy result.
Final Thoughts
This pan seared sirloin steak recipe is a simple way to bring a steakhouse-style dinner into your own kitchen. With a hot skillet, carefully timed garlic butter basting, and a little patience while the steak rests, you can create a flavorful meal without complicated preparation.
Once you master the basic method, you can experiment with different herbs, sauces, and side dishes to make the recipe your own. Serve it for a cozy weeknight dinner or a special occasion, and enjoy every juicy, buttery bite!