Wicked Witch Finger Cookies Recipe: Easy, Spooky Halloween Treats

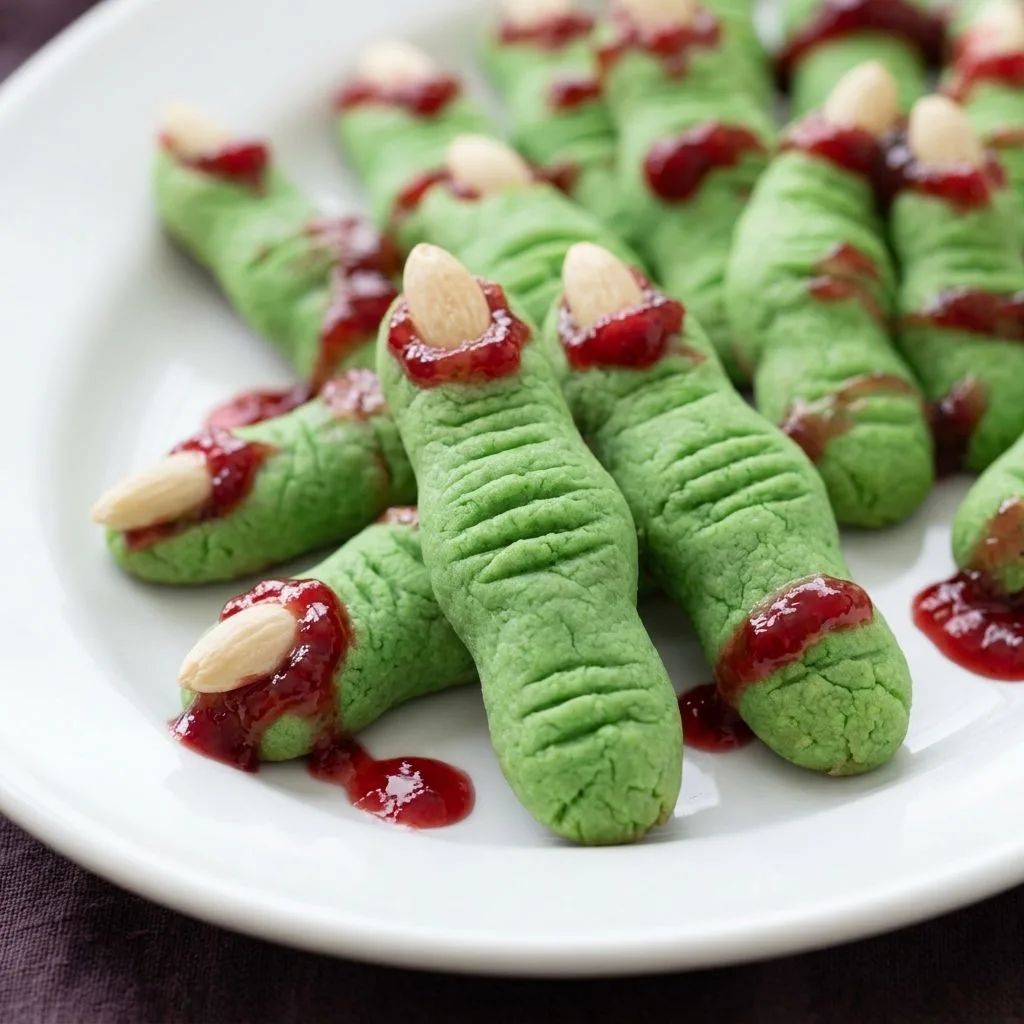
If you love making creepy Halloween desserts, this Wicked Witch Finger Cookies Recipe is one I always find especially fun to prepare. I love shaping the buttery green dough into thin fingers and adding almonds to create spooky-looking nails. The raspberry jam makes the cookies look wonderfully gruesome without adding much extra work.
When I make these, I keep the fingers slightly thin because they spread a little as they bake. They are crisp around the edges, tender inside, and perfect for a Halloween dessert table.

Cooking Time
- Prep Time: 20 minutes
- Cooking Time: 10 minutes
- Total Time: 30 minutes
This recipe makes about 20 witch finger cookies, so it is easy to prepare enough for a small Halloween gathering.
Ingredients
- 3 ¼ cups (300 g) all-purpose flour — Forms the main structure; measure carefully for the best texture.
- ½ teaspoon baking powder — Helps the cookies puff slightly as they bake.
- ½ teaspoon table salt — Balances the sweetness and buttery flavor.
- ¾ cup (180 g) unsalted butter, softened — Gives the cookies their rich, tender texture; bring it to room temperature first.
- 1 cup powdered sugar — Creates a soft, delicate cookie texture rather than a coarse one.
- 1 large egg, at room temperature — Helps bind the dough and keeps the texture light.
- 1 ½ teaspoons pure vanilla extract — Adds a warm, familiar cookie flavor.
- 1 teaspoon almond extract — Gives the cookies a subtle almond note that works beautifully with the almonds.
- Green food coloring, optional — Turns the cookies into classic green witch fingers.
- 20 blanched almonds — Make realistic-looking edible fingernails.
- 2–3 tablespoons seedless raspberry jam — Creates the spooky red “blood” around each almond nail.
Note: serves several — The quantities make approximately 20 cookies.
Equipment You Need
- Mixing bowls — Use separate bowls for the dry ingredients and wet mixture.
- Hand mixer — Creams the butter and powdered sugar smoothly.
- Small cookie scoop — Helps divide the dough into evenly sized portions.
- Cookie sheets — Give the shaped fingers a flat surface for baking.
- Parchment paper or silicone baking mats — Prevent the cookies from sticking to the trays.
- Butter knife — Creates realistic-looking knuckle lines.
- Cooling rack — Lets the baked cookies cool completely without becoming soggy underneath.
How to Make a Wicked Witch Finger Cookies Recipe?
These cookies are much easier to shape than they look. The trick is to keep the dough fingers thin, add simple knuckle details, and avoid overbaking. Once the almond nails and raspberry “blood” are added, the cookies become instantly Halloween-ready.
1. Prepare the Oven and Baking Sheets
Preheat the oven to 350°F (180°C), or 160°C for a fan oven. Line two baking sheets with parchment paper or silicone baking mats. Keep the prepared trays nearby while you make the dough.
2. Mix the Dry Ingredients
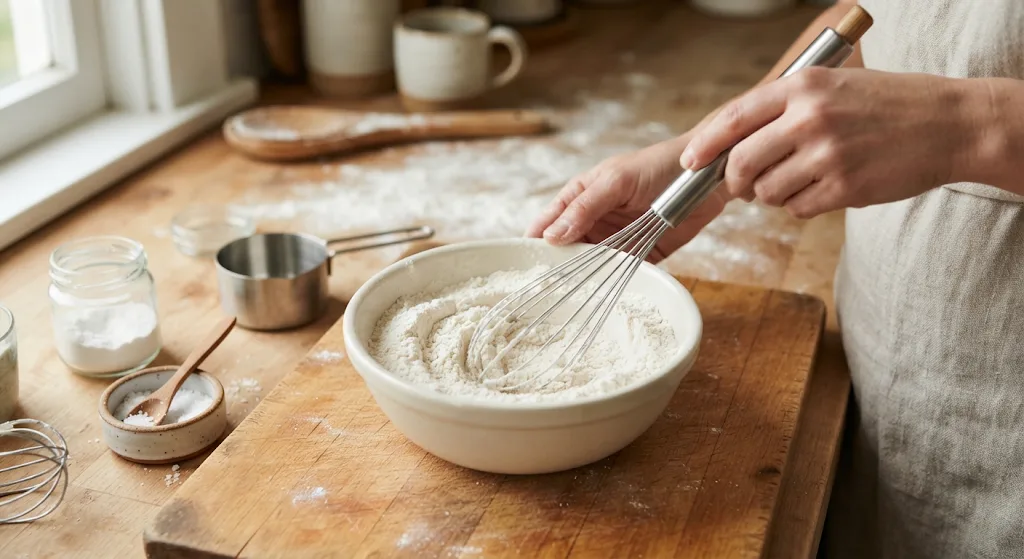
Add the flour, baking powder, and salt to a small bowl. Whisk them together so the ingredients are evenly distributed. Set this mixture aside while you prepare the buttery base.
3. Cream the Butter and Sugar
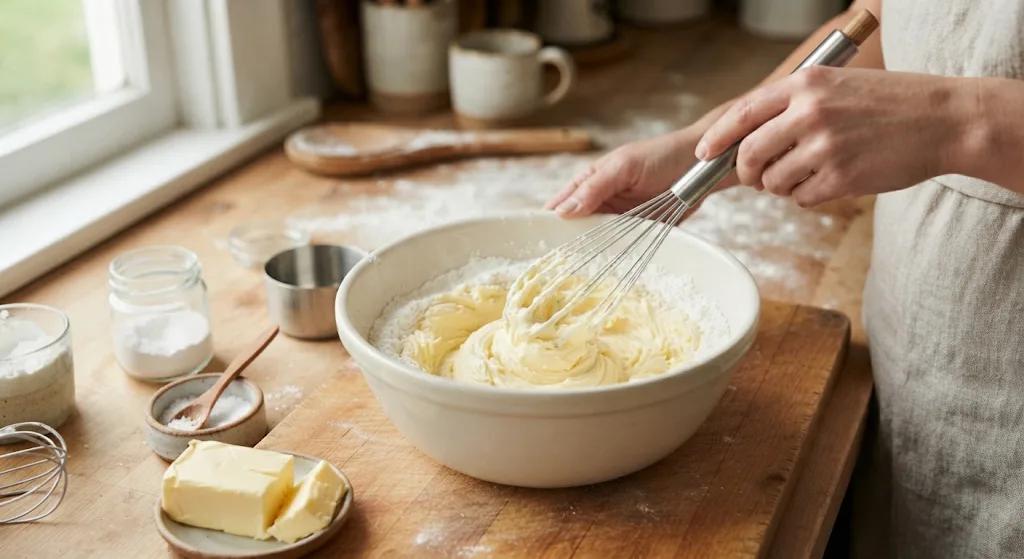
In a larger bowl, beat the softened butter with the powdered sugar until smooth. I find room-temperature butter much easier to combine evenly. Avoid using cold butter because it can make the mixture harder to cream properly.
4. Add the Egg and Flavorings
Beat in the room-temperature egg, vanilla extract, and almond extract. Add the green food coloring and mix until the color is evenly distributed throughout the dough. You can adjust the amount of coloring according to how green you want your witch fingers.
5. Combine the Dough
Add the dry mixture to the butter mixture in two or three additions. Mix after each addition until the ingredients come together into a soft dough. I avoid mixing more than necessary because the goal is a tender, buttery cookie.
6. Shape the Witch Fingers
Divide the dough into about 20 portions, using roughly one tablespoon of dough for each. Roll each portion between your hands into a long, skinny finger and arrange them about two inches apart on the prepared trays.
7. Add Almond Fingernails
Press one blanched almond into the end of each dough finger, keeping the pointed end facing outward. Use a butter knife to make several shallow lines for the knuckles. Pinch the dough gently around the almond and between the lines to create a more realistic shape.
8. Bake the Cookies
Bake the shaped fingers for 8–10 minutes, watching them closely near the end. They should look puffed and be lightly golden on the bottom. I take them out as soon as the bottoms begin to brown because overbaking can make the green cookies turn brown.
9. Prepare the Raspberry “Blood”
Let the cookies cool for about two minutes. Meanwhile, warm the seedless raspberry jam in the microwave for approximately 10–15 seconds, then stir it until it becomes easier to dip and spread.
10. Add the Bloody Nail Detail
Carefully remove each almond from the warm cookie. Dip the almond into the raspberry jam, then press it back into the same spot. Let a little jam squeeze around the almond so it looks like spooky red “blood.”
11. Cool and Finish
Transfer the decorated cookies to a cooling rack and let them cool completely. For an extra creepy presentation, drizzle or drip some remaining raspberry jam over the cookies before serving.
Additional Tips for Making This Recipe Better
These little details can make the finished cookies look much more convincing.
- I roll the fingers thinner than I think I need to because the dough spreads slightly during baking.
- I always soften the butter first so it creams smoothly with the powdered sugar.
- I use blanched almonds because their pale, smooth appearance looks much more like fingernails.
- I keep the raspberry jam seedless so the red detail looks smoother around the almond.
- I watch the final minutes carefully because these cookies can brown quickly around the edges and bottoms.
- I make the knuckle lines slightly uneven because natural-looking fingers are not perfectly identical.
- I add extra jam just before serving when I want a particularly dramatic Halloween display.
Common Mistakes to Avoid
- Making the fingers too thick: I keep mine long and skinny because the dough spreads during baking.
- Overbaking the cookies: I remove them once the bottoms are lightly golden to help preserve their green appearance.
- Using cold butter: I use softened butter because it blends more easily with the powdered sugar.
- Skipping the knuckle details: I always add shallow lines with a butter knife because they make the shapes much more recognizable.
- Adding too much jam: I use just enough around the almond to create the bloody effect without making the cookies overly messy.
How to Serve Wicked Witch Finger Cookies?
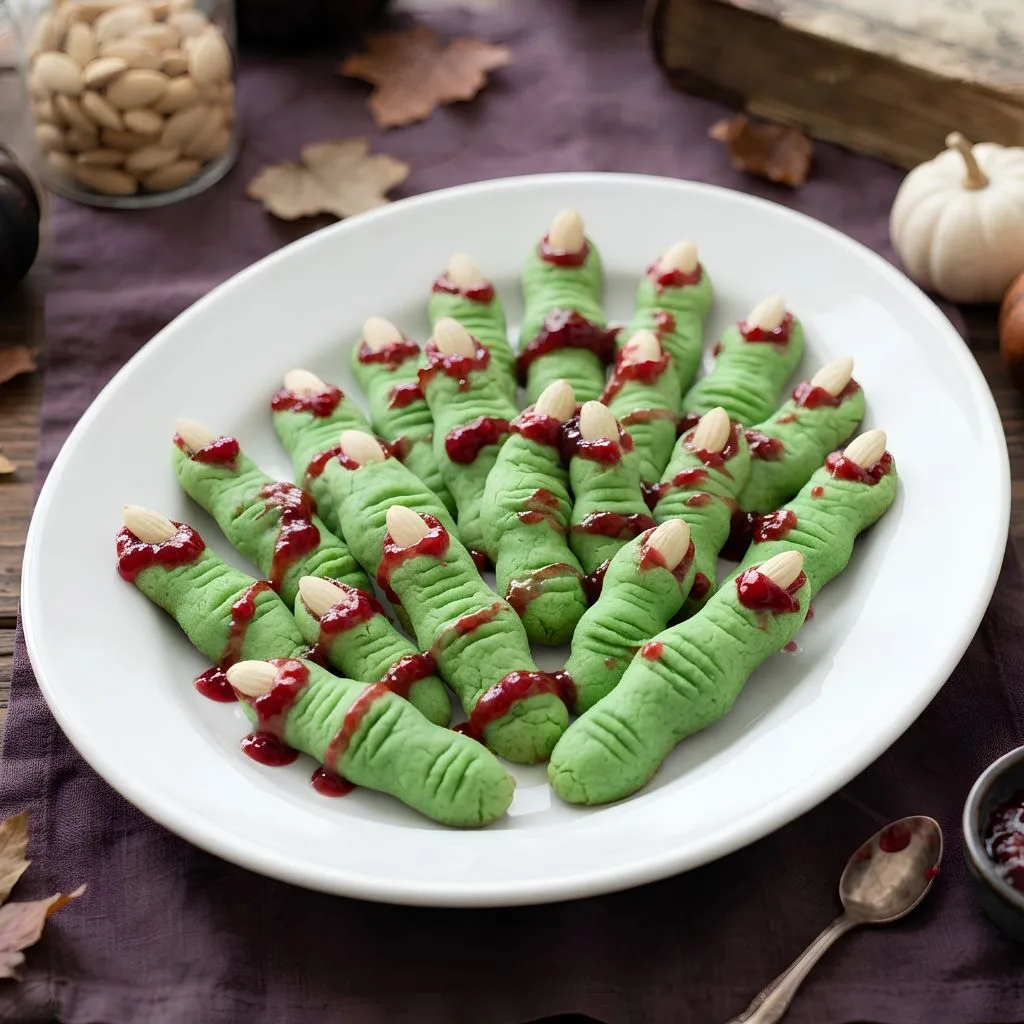
For Halloween parties, I like arranging the cookies in a circular pattern on a large serving platter. Place the almond ends facing different directions so the plate looks like a collection of severed witch fingers rather than identical cookies.
For an extra spooky effect, serve the cookies with a small bowl of seedless raspberry jam for dipping. A little extra jam drizzled over the platter can also create the “bloody” Halloween look described in the source recipe. These cookies pair nicely with warm apple cider or another festive Halloween drink.
Variations
- Nut-free version: Skip the almonds and use melted white chocolate or icing to create edible fingernails after the cookies have cooled.
- No food coloring: Leave out the green coloring and call them spooky zombie fingers instead.
- Different colors: Use another gel food color if you want unusual monster or zombie fingers.
- Less bloody: Replace the raspberry jam with a little corn syrup for a lighter effect.
- Red icing version: Use red gel icing instead of raspberry jam when you want a simple decorative alternative.
- Flavor variation: Keep the vanilla and almond extracts for the original flavor balance, or experiment with the color while keeping the base recipe unchanged.
Nutritional Information
The source recipe provides approximate nutrition per cookie. Actual values can vary depending on ingredients and portion size.
- Calories: 175 kcal
- Protein: 3 g
- Carbohydrates: 23 g
- Fat: 8 g
Make Ahead and Storage
Room-Temperature Storage
I keep finished witch finger cookies in an airtight container at room temperature. According to the source recipe, they stay fresh for up to 3 days.
Longer Storage
If I need to keep the cookies longer than three days, I would wait to add the raspberry jam until closer to serving. This helps keep the decoration from becoming unnecessarily messy during storage.
Freezing
The baked and decorated cookies can be frozen for up to 2 months. Make sure they are properly protected from freezer air before storing them.
Reheating
These cookies are designed to be served as baked cookies rather than reheated. I would let frozen cookies thaw before serving instead of reheating them, which helps preserve their decorated appearance.
Why You’ll Love This Recipe?
These witches fingers cookie treats are more than just a Halloween novelty. They combine an easy cookie dough with simple decorations that create a surprisingly creepy result.
- Easy to make: The dough uses familiar baking ingredients and comes together without a complicated preparation process. There is also no chilling step in the original method.
- Perfect for Halloween: I love how the green color, almond fingernails, and raspberry jam instantly create the appearance of spooky witch fingers Halloween treats.
- Fun for kids: Shaping the dough is hands-on and playful, almost like working with edible clay. Children can help form the fingers and add the almond nails.
- Shortbread-style texture: The buttery base has the rich quality associated with shortbread while the egg and baking powder give these cookies a softer, lighter texture.
- Easy to customize: I can change the color, skip the almonds, or replace the jam with another decoration depending on the party theme.
FAQs
Can I make witch finger cookies without almonds?
Yes. The original source suggests using melted white chocolate or icing to create the fingernails if you need a nut-free version.
Do I have to use green food coloring?
No. Green coloring is optional. I can leave it out completely or use another gel color to create zombie or monster-style fingers.
Why do my witch finger cookies spread?
The dough naturally spreads a little during baking. I shape the fingers thinner than my desired final size and leave about two inches between them on the baking sheet.
How long do witch finger cookies stay fresh?
Stored in an airtight container at room temperature, the cookies stay fresh for up to 3 days. For longer storage, the source recommends waiting to add the jam.
Can I freeze witch finger cookies?
Yes. The source recipe says baked and decorated cookies can be frozen for up to 2 months.
Final Thoughts
This witch finger cookies recipe easy method is a fun way to turn a simple buttery cookie into a memorable Halloween centerpiece. The combination of green dough, almond nails, and raspberry jam gives the cookies their signature creepy appearance without requiring advanced decorating skills.
If you enjoy a shortbread finger cookies recipe, these are especially fun because the buttery base provides that familiar rich cookie character while the egg and baking powder give them a softer texture. They also work well for anyone searching for almond finger cookies, witches fingers cookie recipe, or a spooky witch finger cookies recipe UK-style Halloween bake.
Most importantly, I would focus on the shaping and baking time. Keep the fingers slim, create recognizable knuckle marks, and remove them before they become too brown. Once the raspberry “blood” is added, even simple homemade cookies can look like real witch fingers ready for a Halloween party.