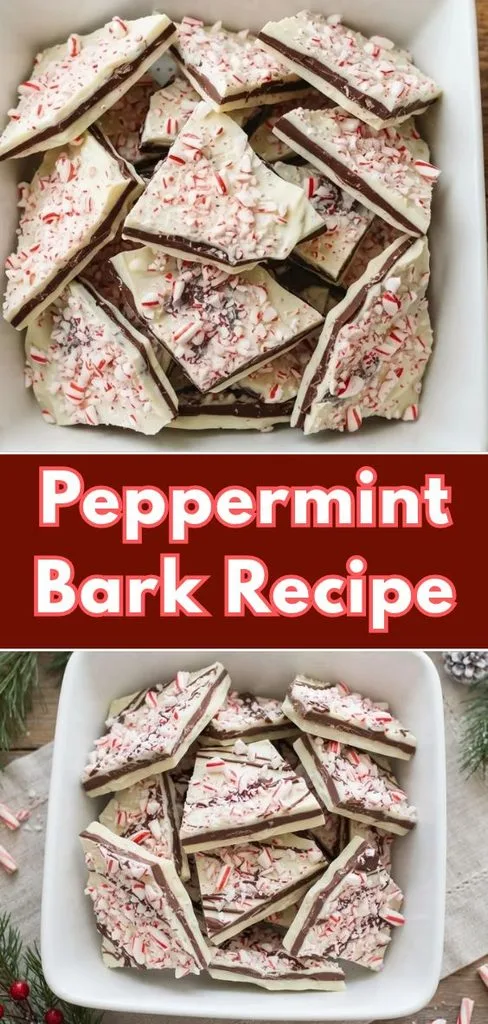
Easy Peppermint Bark Recipe: A Classic 3-Layer Holiday Treat

I make Peppermint Bark Recipe every single December, and it’s one of those treats that always disappears first from my holiday trays. I love that it needs just five ingredients and no oven at all, so even on my busiest baking days, this one never feels like a chore. The first time I made it, I was surprised by how easy it was to get that pretty three-layer look everyone associates with peppermint bark.
A friend of mine in California actually talked me into trying it years ago, and I’ve made a batch (sometimes two) every holiday season since. If you’ve been searching for an easy peppermint bark recipe and wondering if it’s really as simple as it looks, I promise this one lives up to the hype.
Cooking Time
- Prep Time: 30 minutes
- Cook Time: 0 minutes (no-bake)
- Total Time: about 1 hour 45 minutes (includes chilling time)
Ingredients
- 12 ounces white chocolate, chopped and divided – pick a real baking bar instead of chocolate chips, since chips have stabilizers that keep bark from setting smooth
- 6 ounces semi-sweet or bittersweet chocolate, chopped – this middle layer adds a rich contrast to the sweet white chocolate on either side
- 1 and 1/2 teaspoons vegetable oil or coconut oil, divided – oil thins the chocolate so it spreads easily and keeps the bark soft enough to snap without crumbling
- 1/2 teaspoon peppermint extract, divided – a little goes a long way, so measure carefully or the flavor can turn soapy
- 2 to 3 regular candy canes, crushed – crush them in a zip-top bag with a rolling pin so you control the size of the pieces
Note: This recipe makes just over 1 pound of bark, enough to serve 10 to 12 people as a treat-sized snack.
Equipment You Need
- 8-inch or 9-inch square baking pan – gives the bark an even shape for cutting into squares
- Parchment paper or aluminum foil – lines the pan so the set bark lifts out cleanly
- Microwave-safe bowl or liquid measuring cup – melts each chocolate layer in small batches
- Silicone spatula – stirs the chocolate without scratching your bowl
- Offset spatula or spoon – spreads each layer into a thin, even coating
- Rolling pin or meat mallet – crushes the candy canes for the topping
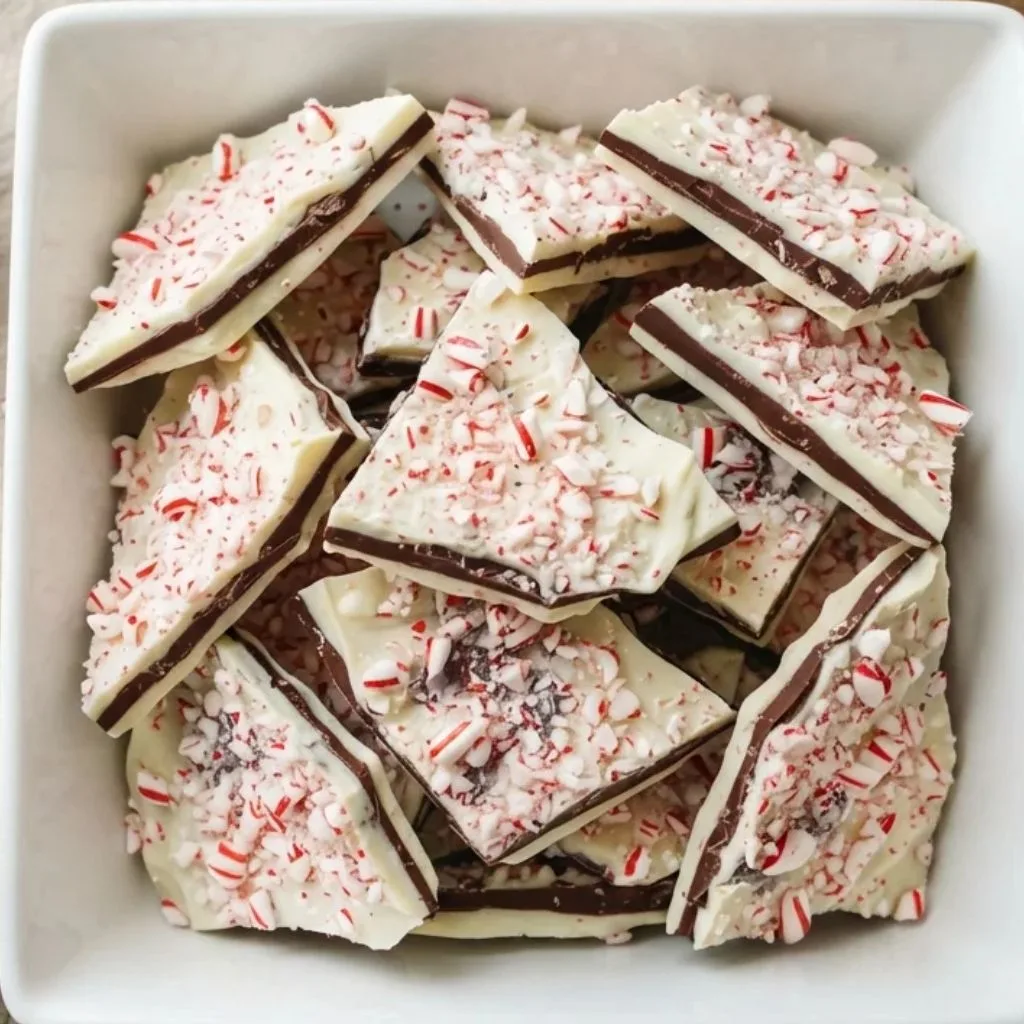
How to Make a Peppermint Bark Recipe?
This peppermint bark comes together in three thin layers that chill one at a time in the fridge. I know that sounds like extra steps, but each layer only needs about 10 to 15 minutes to firm up. Once you get the rhythm down, the whole process feels more like assembly than actual cooking.
Line the Pan
I start by lining my baking pan with parchment paper or foil, pressing it into the corners so there are no big wrinkles. This step matters more than it seems, because a smooth liner makes the bark much easier to lift out later. I set the lined pan aside while I get my chocolate ready.
Melt and Spread the White Chocolate Base
I melt half of the white chocolate with half of the oil in the microwave, stopping every 20 seconds to stir so it never scorches. Once it’s smooth, I stir in half of the peppermint extract and pour it straight into my lined pan. I spread it into a thin, even layer and chill it for 10 to 15 minutes, just until it’s almost set but not rock hard.
Add the Semi-Sweet Chocolate Middle Layer
While the white chocolate chills, I melt the semi-sweet chocolate with the remaining oil the same way, in short microwave bursts. I stir in the rest of the peppermint extract, then pour it over the white chocolate layer and spread it out evenly. Back into the fridge it goes for another 10 to 15 minutes until it’s almost set.
Finish with the Second White Chocolate Layer
For the final layer, I melt the rest of the white chocolate with the last bit of oil, skipping the peppermint extract this time since the other two layers already have plenty. I pour it over the chilled middle layer and smooth it out with my offset spatula. While it’s still wet, I sprinkle the crushed candy canes evenly across the top so they stick.
Chill and Break Into Pieces
I slide the whole pan back into the fridge and let it set completely, which usually takes about an hour. Once it’s hard, I lift the bark out using the parchment or foil and peel it away before breaking it into pieces. If it chilled much longer than a few hours, I let it sit at room temperature for 10 minutes first so it doesn’t shatter unevenly.
Additional Tips for Making This Recipe Better
- I always use real chocolate bars instead of chocolate chips, since chips are made to hold their shape and don’t melt into the smooth, pourable texture bark needs.
- I melt each layer in 20-second microwave bursts rather than one long zap, because white chocolate especially can seize or scorch if it overheats.
- I like brands such as Ghirardelli, Guittard, or Baker’s for this recipe, since the quality really comes through when chocolate is the star ingredient.
- I never let a layer set completely hard before adding the next one, or the layers can separate when I break the bark apart.
- When I want a firmer, snappier bark instead of a soft one, I temper the chocolate rather than just melting and setting it.
Common Mistakes to Avoid
- Using chocolate chips instead of bar chocolate is a mistake I made early on, and it left my bark grainy instead of smooth.
- I’ve overheated chocolate in the microwave before by skipping the stir-and-check step, which turns it clumpy and unusable.
- Adding too much peppermint extract is an easy slip, since even a little extra can make the bark taste more like soap than mint.
- I’ve rushed the chilling time between layers, and the bark ended up with layers that slid apart when I tried to cut it.
- Crushing the candy canes too finely turns them into powder that melts into the chocolate instead of staying crunchy on top, so I keep the pieces a bit chunky.
How to Serve Peppermint Bark?
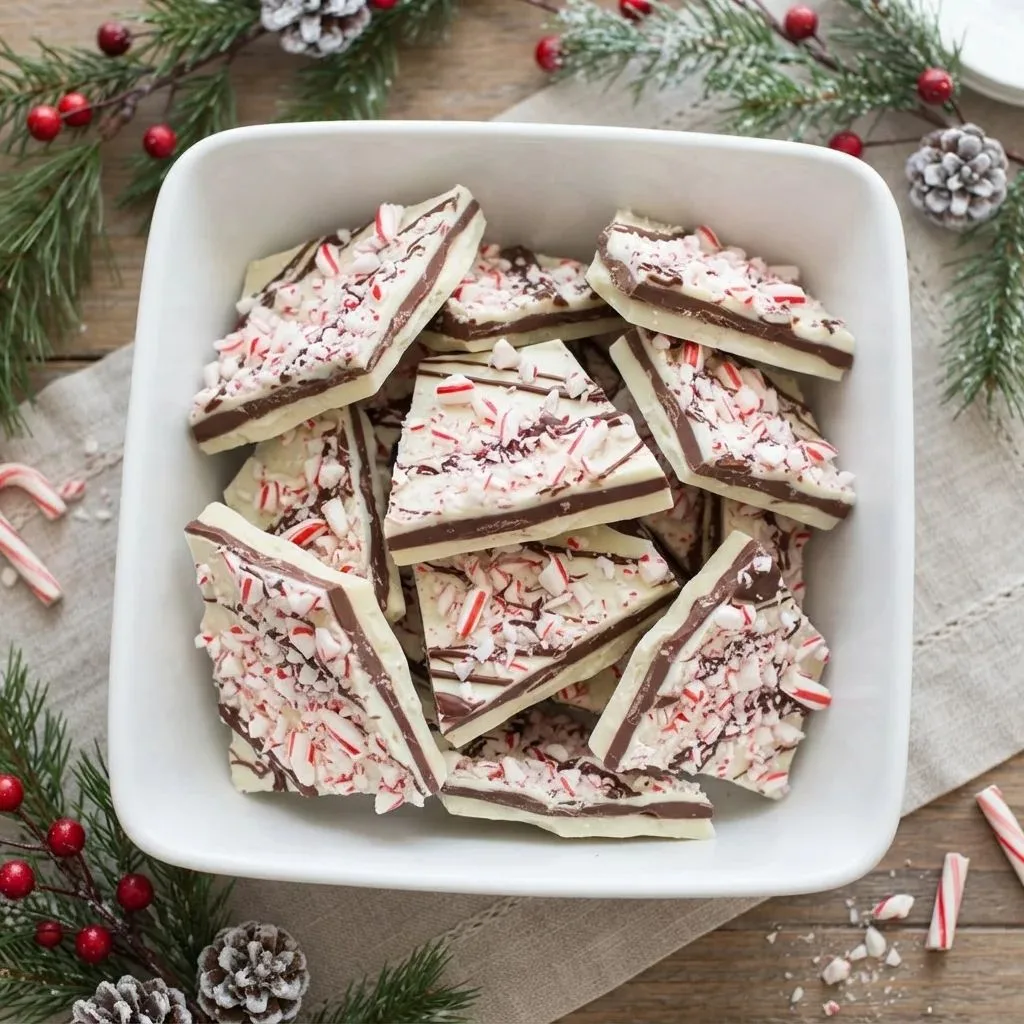
I like piling broken pieces of peppermint bark onto a holiday platter next to other no-bake treats, so the white and dark swirls stand out against the red and white candy canes. For gifting, I tuck a few pieces into cellophane bags or small tins lined with tissue paper, which keeps the bark looking fresh and festive.
A light dusting of extra crushed candy cane right before serving gives the top layer a little more sparkle and crunch.
Variations
- Dairy-Free Peppermint Bark – swap in dairy-free white and dark chocolate bars, which melt and set just like regular chocolate.
- Sugar-Free Option – use sugar-free chocolate bars made for baking, though they can set a bit firmer than traditional chocolate.
- Dark Chocolate Lovers’ Version – use dark chocolate for both outer layers and skip the white chocolate entirely for a deeper flavor.
- Extra Minty Bark – stir a touch more peppermint extract into the middle layer only, so the flavor builds without overwhelming the white chocolate.
- Christmas Crack Twist – layer in crushed pretzels or toffee bits between the chocolate layers for a salty-sweet take similar to classic christmas crack.
- Peppermint Patty Style – tuck a thin layer of mint filling between the white chocolate layers for an extra peppermint patty flavor.
Nutritional Information
Here’s a rough idea of what to expect per 1-ounce piece of peppermint bark:
- Calories: about 150
- Protein: 1 gram
- Carbohydrates: 18 grams
- Fat: 8 grams
Make Ahead and Storage
This bark keeps well, which makes it one of my favorite make-ahead holiday treats.
Storage: I store leftover bark in an airtight container in the refrigerator, where it stays fresh for up to three weeks. If my kitchen is cool, I can also leave it at room temperature for a few days, though it softens a little faster that way.
Freezing: Peppermint bark freezes nicely for up to two months when stored in a freezer-safe container or bag. I like separating layers with parchment paper so the pieces don’t stick together in the freezer.
Reheating: Since this is a no-bake treat, there’s no reheating involved. When I pull a batch from the freezer, I just let it sit at room temperature for about 15 minutes before serving so it softens back to its usual texture.
Why You’ll Love This Recipe
There are so many reasons this peppermint bark has become a holiday staple in my kitchen.
- No Oven Required – I never have to turn on my oven for this recipe, which is a lifesaver when my oven is already full of cookies and pies during the holidays.
- Just Five Ingredients – I love that I can throw this together with ingredients I probably already have during the holiday season, like chocolate, candy canes, and peppermint extract.
- Perfect for Gifting – Because the bark sets into neat, giftable pieces, I use it constantly for teacher gifts, neighbor treats, and holiday party favors.
- Easy to Customize – Whether I want it dairy-free, extra minty, or loaded with crushed pretzels, this bark adapts to whatever I’m in the mood for.
- Make-Ahead Friendly – I can make a batch weeks in advance and keep it in the freezer, which takes one more thing off my holiday to-do list.
FAQs
Can I use chocolate chips instead of chocolate bars?
I don’t recommend it, since chocolate chips contain stabilizers that keep them from melting into the smooth layers bark needs.
Why did my peppermint bark layers separate?
This usually happens when a layer sets too hard before I add the next one, so I try to add each new layer while the one below is still just slightly soft.
Can I double this peppermint bark recipe?
Yes, I simply double every ingredient and use a larger baking sheet, keeping all the chilling times the same.
How long does peppermint bark last?
Stored in the refrigerator, my peppermint bark stays fresh for up to three weeks, and it also freezes well for longer storage.
Can I skip the peppermint extract?
You can, though the mint flavor will come mostly from the candy canes instead, which gives a milder peppermint taste overall.