Easy Steak Quesadilla Recipe: Crispy, Cheesy & Done in 25 Minutes

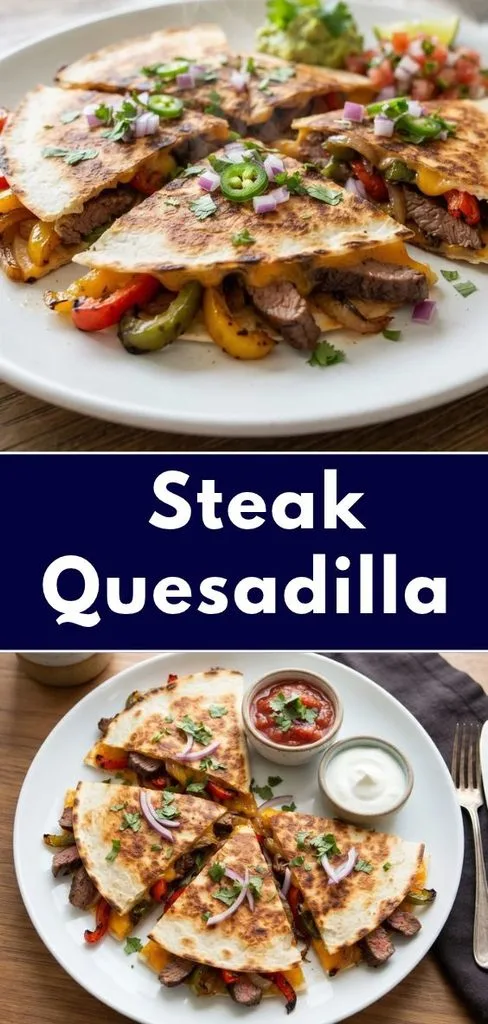
I made this Steak Quesadilla Recipe on a lazy afternoon with leftover steak sitting in my fridge. I was not expecting much, but the first bite totally surprised me. The tortilla was crisp and golden, the cheese stretched for days, and the peppers added a smoky kick. I have made them many times since, and each batch gets better. Let me walk you through exactly how I do it.
Cooking Time
Short on time? This recipe is for you. Here is how the minutes add up:
- Prep Time: 5 minutes
- Cooking Time: 20 minutes
- Total Time: 25 minutes
Ingredients
Every item here has a job to do. Gather them first, and the cooking goes smoothly.
- 2 tsp cooking oil, divided: Crisps the veggies and browns each tortilla.
- 1/2 green bell pepper, sliced: Adds a fresh, slightly sweet crunch.
- 1/2 medium onion, sliced: Turns soft and sweet once it cooks down.
- 1/4 tsp salt: Draws out moisture so the veggies brown, not steam.
- 1/2 tsp ground cumin: Brings earthy, warm flavor to the filling.
- 1/2 tsp chili powder: Gives mild heat and a rich color.
- 1/8 tsp cayenne (optional): Adds a gentle kick, so skip it if you like things mild.
- 1 cup sliced cooked steak, thinly sliced: Slice it thin so every bite stays tender.
- 4 (6-inch) flour tortillas: Soft flour holds up better than corn when flipped.
- 2 slices Cheddar cheese: Sliced cheese melts into one gooey layer for a great cheese pull.
- 1/2 cup shredded Monterey jack cheese: Shred it fresh, since bagged cheese melts less smoothly.
Note: Serves 2 (makes 2 quesadillas, cut into 8 wedges total).
Equipment You Need
You do not need fancy gear. A few basics will do the job.
- Large non-stick or cast iron skillet: Browns the tortillas and cooks the veggies without sticking.
- Two spatulas: Make flipping a loaded quesadilla easy and mess-free.
- Baking sheet with oven-safe rack: Keep the first quesadilla warm and crisp while you cook the second.
- Cutting board and sharp knife: Used for slicing peppers, onion, and steak.
- Pizza cutter: Slices the quesadillas into neat wedges without squishing the filling.
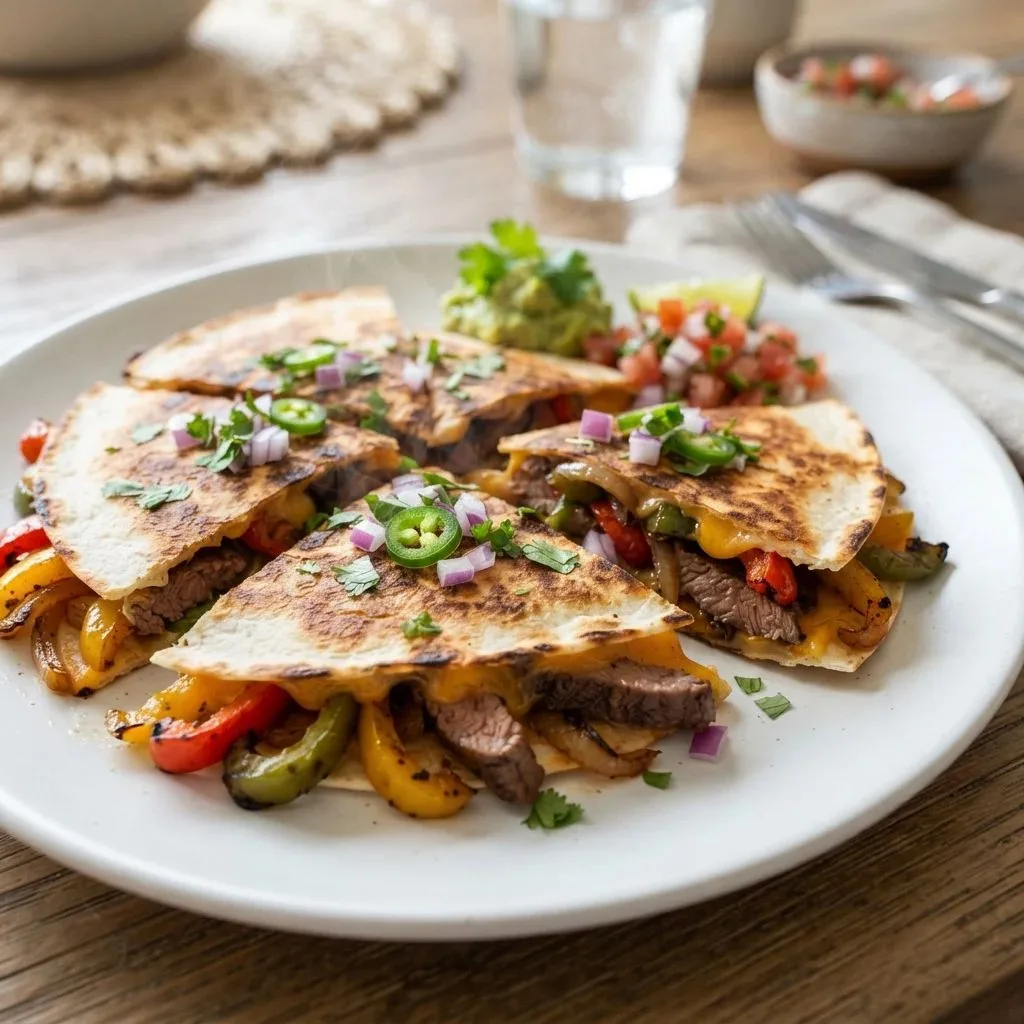
How to Make a Steak Quesadilla Recipe?
This recipe moves fast, so it helps to have everything ready before you start. You will cook the veggies first, then the steak, then build and brown each quesadilla one at a time. Follow these steps and you will get crisp, cheesy results.
Warm the Oven
Preheat your oven to 350°F. Set an oven-safe rack on top of a baking sheet and leave it nearby. This is where your first quesadilla will wait, staying warm and crisp while you cook the second one.
Cook the Peppers and Onion
Heat 1 teaspoon of oil in a large non-stick skillet over medium-high heat. Add the bell pepper, onion, and salt, then stir and spread them out. Leave them alone for 3 to 5 minutes so a light char forms underneath.
Season the Veggies
Sprinkle in the cumin, chili powder, and cayenne if you are using it. Stir everything, then spread it out again. Cook for another 3 to 5 minutes, stirring now and then, until the veggies turn soft and fragrant.
Warm the Steak
Add your thin steak slices right into the skillet. Stir so the seasoning coats the meat and it warms through a little. Move the steak and pepper mixture to a plate, then wipe the skillet clean.
Oil the Tortilla
Set the skillet over medium heat and add 1 teaspoon of oil. Lay one tortilla in the pan. Slide it around so its underside gets coated evenly, which helps it brown beautifully.
Build the Quesadilla
Place one slice of cheddar in the middle of the tortilla. Pile on half of the steak and pepper mixture. Sprinkle half of the shredded cheese over the top, then cover with a second tortilla.
Brown and Flip
Let it cook undisturbed for 3 to 5 minutes, peeking underneath to check the color. When the bottom is golden, slide a spatula under it and press a second spatula on top. Flip it over and brown the other side.
Keep It Warm
Use both spatulas to move the finished quesadilla onto the rack. Slide the baking sheet into the oven. This keeps it hot and crisp while you work on the next one.
Repeat, Slice, and Serve
Repeat the oiling, building, and browning steps with the remaining ingredients. Once the second quesadilla is done, take the first one out of the oven. Cut each into 4 wedges with a pizza cutter or sharp knife.
Additional Tips for Making This Recipe Better
A few small habits make a big difference. These are the things I have learned after making this recipe again and again.
- I use leftover skirt steak, flank steak, or tri-tip because they slice thin and taste great the next day.
- I cook a fresh rib eye or New York strip when I have no leftovers. I let it rest fully before slicing.
- I use two kinds of cheese, one sliced and one shredded. The combination gives the best stretchy cheese pull.
- I put the sliced cheese on the bottom tortilla, since it needs the most heat to melt.
- I shred my own cheese when I have time. Bagged shreds are fine in a pinch, but fresh melts smoother.
- I swirl the oil around the pan and move the tortilla through it. That gives a crunchier, deeper golden finish.
- I mist olive oil spray on the tortilla when I want a lighter version. It works well with less oil.
Common Mistakes to Avoid
Quesadillas look simple, but a few slip-ups can ruin them. Here are the ones I have made myself.
- I once used heat that was too high and burned the tortilla before the cheese melted. Stay at medium.
- I used to slice the steak too thick, and it turned chewy. Thin strips are much easier to bite through.
- I overfilled one quesadilla and the cheese oozed out everywhere. Stick to half the filling per quesadilla.
- I flipped too early, and the whole thing fell apart. Wait until the bottom is properly golden.
- I skipped the oven rack once, and the first quesadilla went soft while I cooked the second. The rack keeps it crisp.
How to Serve Steak Quesadilla?
Presentation is half the fun. A few simple touches make this dish look as good as it tastes.
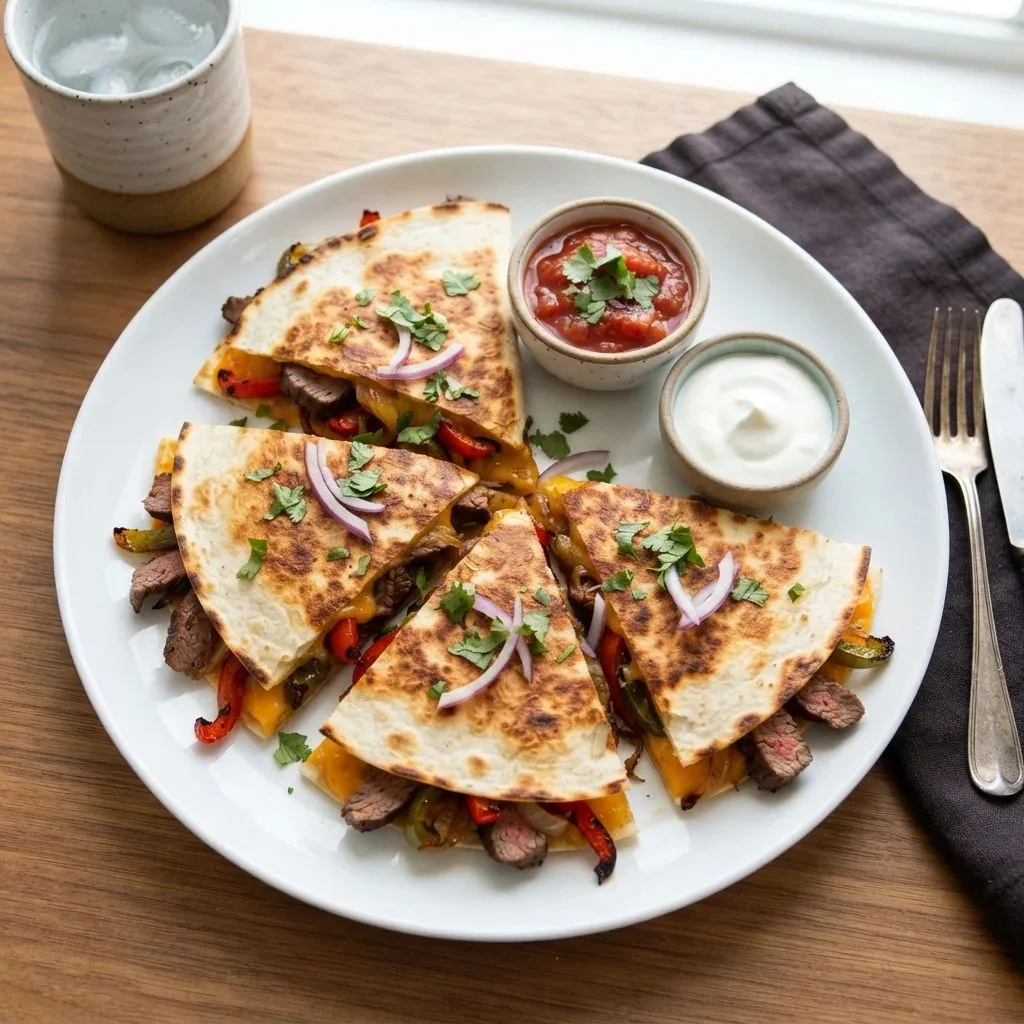
- Stack the wedges in a fan shape on a wooden board for a rustic, restaurant-style look.
- Serve with sour cream, pico de gallo, or salsa for dipping.
- Try black bean and corn salsa for a colorful, hearty side.
- For something different, drizzle on a creamy horseradish sauce. It is not Tex-Mex, but it pairs wonderfully with steak.
- Add a sprinkle of fresh cilantro or a lime wedge on the side for a pop of green.
- Serve straight from the skillet while the cheese is still molten.
Variations
Want to change things up? These swaps keep the recipe flexible and fun.
- Swap the cheese: Use Oaxaca, Chihuahua, mozzarella, or any mix of cheddar and Monterey jack.
- Change the steak: Try skirt steak, flank steak, tri-tip, or New York strip.
- Use fajita beef strips: Pre-sliced raw strips are the easiest option if you are starting from scratch.
- Skip the spice: Leave out the cayenne for a milder flavor.
- Use a seasoning packet: Fajita or taco seasoning works in place of cumin and chili powder.
- Make it in the air fryer: Fold each tortilla in half, weigh it down with a light pan lid, and cook at 400°F for about 5 minutes. Flip and cook 3 to 4 minutes more.
- Go dairy-free: Try a dairy-free melting cheese in place of the cheddar and Monterey jack.
Nutritional Information
Here is a rough estimate per serving (one quesadilla, or 4 wedges). Exact numbers vary with the steak cut, tortillas, and cheese you choose.
- Calories: about 480
- Protein: about 32 g
- Carbohydrates: about 30 g
- Fat: about 25 g
Make Ahead and Storage
Make Ahead: Cook the pepper, onion, and steak mixture up to a day ahead. Keep it in the fridge in a sealed container. When you are ready, build and brown the quesadillas fresh for the best crunch.
Storing: Cool leftover quesadillas fully, then wrap them or place them in an airtight container. They keep well in the fridge for up to 3 days. Keep a paper towel between layers to catch moisture.
Reheating: Warm them in a skillet over medium-low heat for a few minutes per side. An oven at 350°F also works well. This brings back the crisp tortilla far better than a microwave.
Freezing: Wrap each cooled quesadilla tightly and freeze for up to 2 months. Thaw in the fridge overnight, then reheat in a skillet or oven until hot and crisp.
Why You’ll Love This Recipe?
This recipe checks every box for a quick, satisfying meal. Here is why it has become a regular in my kitchen.
- Ready in 25 minutes. With just 5 minutes of prep, it is perfect for busy weeknights. You can have lunch or dinner on the table before you know it.
- Great way to use leftovers. Got extra steak in the fridge? This turns it into a brand new meal. Nothing goes to waste.
- Perfect cheese pull. Using both sliced and shredded cheese gives that gooey, stretchy bite. It looks as good as it tastes.
- Easy to customize. Swap the cheese, change the cut of steak, or adjust the spice level. It works with whatever you have on hand.
- Packed with flavor. Smoky cumin, mild chili powder, and charred peppers make every bite exciting. The steak soaks up all those flavors.
FAQs
Can I use beef tenderloin tips in this recipe?
Yes, you can. Season and cook the beef first, then slice it thin before building your quesadilla.
What is the best cheese for steak quesadillas?
Oaxaca, Chihuahua, Monterey jack, mozzarella, and cheddar all melt well. Mixing sliced and shredded cheese gives the best cheese pull.
Can I make steak quesadillas in an air fryer?
Yes. Fold the tortilla in half and weigh it down with a light pan lid. Cook at 400°F for about 5 minutes, flip, and cook 3 to 4 minutes more.
What kind of skillet should I use?
A non-stick or cast iron skillet is best. Both keep the tortilla from sticking and help it brown evenly.
What steak should I use if I have no leftovers?
A rib eye, New York strip, or chuck eye works well. Cook it to your liking, let it rest fully, and then slice it into thin strips.