Peanut Butter Blossoms Recipe: Soft, Chewy & So Easy Kiss Cookies

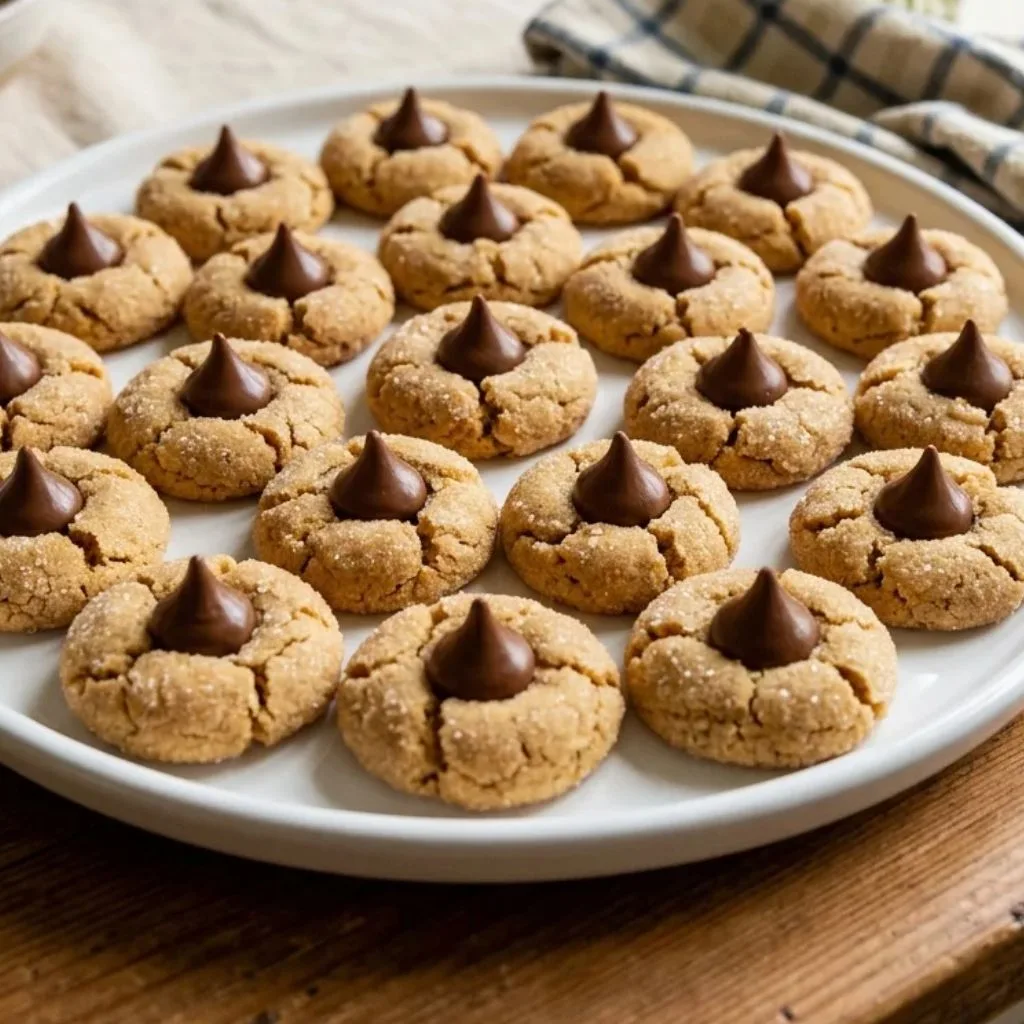
I made this Peanut Butter Blossoms Recipe last weekend, and my kitchen smelled amazing. The cookies came out soft, chewy, and just a little salty. Pressing the warm chocolate kiss into each one felt like the best part of baking.
My family finished half the tray before it even cooled. If you want a classic peanut butter blossoms recipe with Hershey’s Kisses that is easy and reliable, this one is for you.

Cooking Time
Here is how long this recipe takes from start to finish:
- Prep Time: 15 minutes
- Cooking Time: 8 to 10 minutes
- Total Time: About 25 minutes, plus cooling time
Ingredients for Peanut Butter Blossoms
You only need simple pantry staples for these cookies. Each one has a job, so here is why it matters.
- ¾ cup creamy peanut butter (188g): Use a no-stir brand, because natural peanut butter separates and ruins the dough.
- ½ cup unsalted butter, softened (113g): Softened butter creams smoothly and gives the cookies a tender bite.
- ½ cup granulated sugar (100g), plus extra for rolling: It sweetens the dough, and the rolled coating adds sparkle and crunch.
- ½ cup packed light brown sugar (110g): It adds a rich, deep flavor that pairs well with peanut butter.
- ¼ teaspoon salt: It balances the sweetness. Use a little less if your butter is salted.
- 1 large egg, room temperature: A room-temperature egg blends into the dough more easily.
- 1 teaspoon vanilla extract: It rounds out the flavor of the cookie.
- 1½ cups all-purpose flour (180g): Spoon and level it, or weigh it, so the cookies don’t turn dry.
- ½ teaspoon baking soda: It helps the cookies puff up and crack.
- 36 Hershey’s Kisses, unwrapped: Milk chocolate is the classic choice, and dark chocolate works well too.
Note: Serves several. The recipe makes about 36 cookies.
Equipment You Need
- Stand mixer or hand mixer: It creams the butter, peanut butter, and sugars until smooth.
- Large mixing bowl: It holds the dough if you are using a hand mixer.
- Cookie scoop: It portions the dough evenly so the cookies bake at the same pace.
- Small bowl: It holds the sugar for rolling the dough balls.
- Baking sheets: They give the cookies a flat surface to bake on.
- Parchment paper: It prevents sticking and makes cleanup easy.
- Wire rack: It lets the cookies cool and the chocolate set.
- Kitchen scale or measuring cups: They help you measure the flour accurately.
How to Make Peanut Butter Blossoms Recipe?
This recipe is simple, and you don’t need any fancy baking skills. You make a soft peanut butter cookie dough, bake it, and press a chocolate kiss into each hot cookie. Follow the steps below and you will get picture-perfect blossoms.
Preheat the Oven and Prep the Pans
Heat your oven to 375°F. Line your cookie sheets with parchment paper. This keeps the bottoms from sticking or over-browning.
Cream the Butter, Peanut Butter, and Sugars
Add the peanut butter, softened butter, both sugars, and salt to a mixing bowl. Beat on medium speed until the mixture looks creamy and well blended. This step builds the soft texture you want.
Add the Egg and Vanilla
Pour in the egg and vanilla extract, then beat again until everything is combined. Stop once or twice to scrape down the sides of the bowl. This keeps the dough even and free of streaks.
Mix in the Dry Ingredients
Add the flour and baking soda to the bowl. Mix on low speed until just combined. You should end up with a smooth dough that is easy to shape.
Scoop and Roll the Dough
Use a cookie scoop to portion the dough, then roll each piece into a ball. I like roughly 1-inch balls, which is about a slightly mounded #100 scoop. Avoid going much larger than a #60 scoop, or the cookies may not bake evenly.
Coat the Balls in Sugar
Pour some extra granulated sugar into a small bowl. Roll each dough ball until it is coated all over. This step is optional, but it adds a sweet crunch. You can also use colored sanding sugar for a festive look.
Bake Until Puffy and Cracked
Place the balls on the prepared sheets, about 2 inches apart. Bake for 8 to 10 minutes. The cookies should look puffy and slightly cracked, with lightly golden bottoms.
Press in the Chocolate Kisses
Take the pan out of the oven and press a chocolate kiss into the center of each hot cookie right away. The cookie will crack around the edges, and that is exactly what you want. Work quickly so the dough stays soft.
Cool Completely
Leave the cookies on the pan to cool. This gives the chocolate time to set so it holds its shape. Once they are cool, the cookies are ready to serve.
Additional Tips for Making This Recipe Better
A few small habits made a big difference in my batches. These are the things I would tell a friend before they started.
- I always use a room-temperature egg, because it blends into the dough without any fuss.
- I measure the flour with a kitchen scale (180g). If I use cups, I fluff the flour, spoon it in, and level it off.
- I stick with a creamy, no-stir peanut butter. The natural kind separated and gave me a dry, crumbly dough.
- When my kitchen felt warm, I froze the chocolate kisses for about 10 minutes first. They kept their shape better.
- I let the kids unwrap the chocolates and roll the dough in sugar. It speeds things up and makes baking more fun.
- I press the kiss in the second the cookies leave the oven. Waiting even a few minutes makes the cookie crack too much.
Common Mistakes to Avoid
Even easy cookies can go wrong. Here are the mistakes I have run into, and how to avoid them.
- Using natural peanut butter: I tried this once, and the dough turned oily. Stick with a creamy, stabilized brand.
- Packing the flour: Scooping straight from the bag gave me dry, heavy cookies. Spoon and level it, or use a scale.
- Waiting too long to press the kisses: Cooled cookies don’t soften around the chocolate. I always press them in right out of the oven.
- Crowding the pan: My cookies once spread into each other. Leave about 2 inches between each ball.
- Making giant dough balls: Big cookies baked unevenly for me. I stay close to a 1-inch ball for the best results.
How to Serve Peanut Butter Blossoms
Peanut butter blossoms look good on their own, but a little styling makes them shine. Here are some ideas I love.
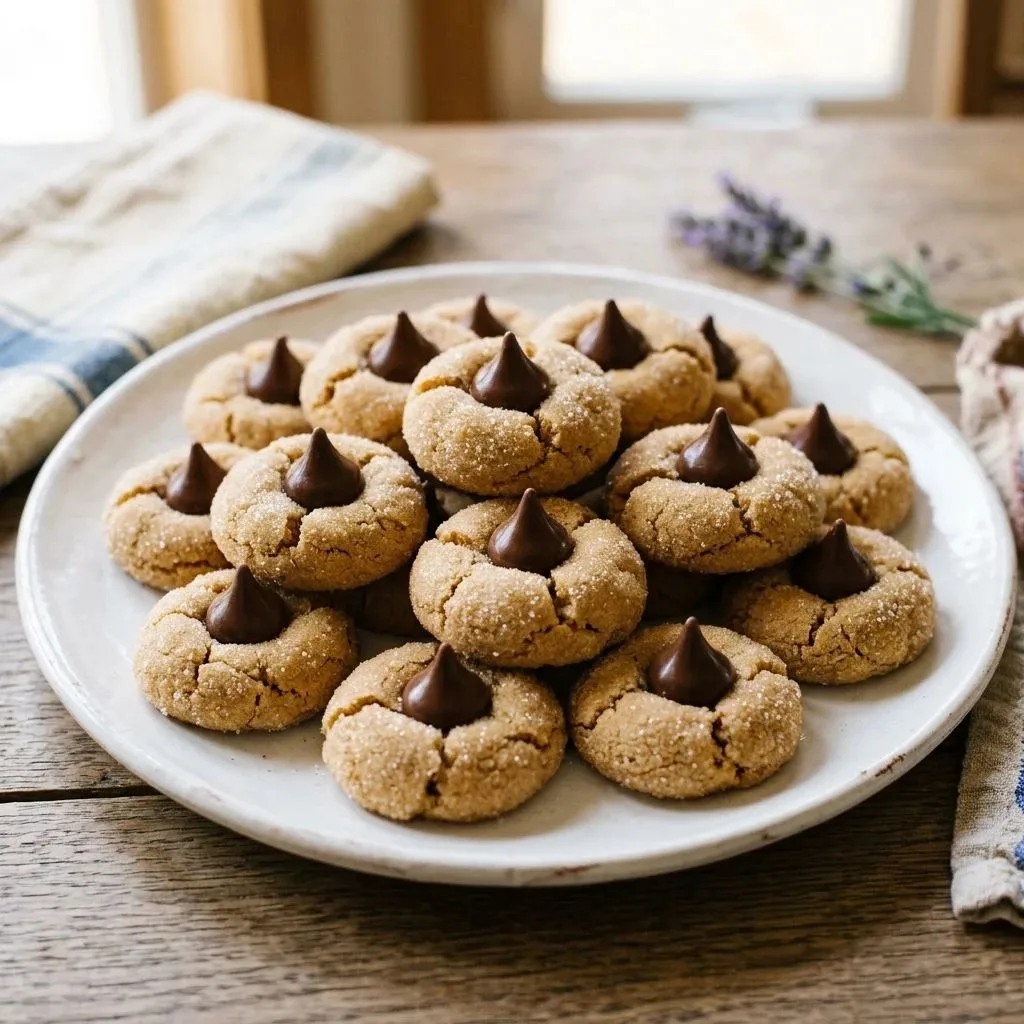
- Arrange the cookies on a white platter so the chocolate kisses stand out.
- Roll the dough in red or green sanding sugar for a holiday cookie tray.
- Pair them with a cold glass of milk or a hot cup of coffee.
- Add them to a cookie box alongside chocolate chip, sugar cookie, and snickerdoodle favorites.
- Crumble one into vanilla ice cream for a quick peanut butter blossom blizzard-style treat.
- Wrap a few in parchment and tie them with twine for a simple homemade gift.
Variations
You can change this recipe in plenty of ways. Try these ideas to make it your own.
- Chocolate swap: Use milk chocolate kisses for the classic version, or dark chocolate for a richer flavor.
- Festive kisses: Try Hershey’s Kisses in other seasonal flavors.
- Peanut butter cups: Press a small peanut butter cup into the center instead of a kiss.
- Crunchy toppers: Use candied pecans, walnuts, or roasted peanuts on top of the cookie instead.
- Allergy-friendly: One reader swapped in sunflower seed butter and gluten-free flour for a friend with allergies. The cookies got rave reviews.
- Colorful coating: Roll the dough balls in sanding sugar instead of plain sugar.
- Smaller cookies: Use a 1-inch scoop and make a larger batch of bite-size blossoms.
Nutritional Information
Here is a rough estimate for one cookie, based on a batch of 36. Exact numbers vary by brand and portion size.
- Calories: About 140
- Protein: About 3g
- Carbohydrates: About 16g
- Fat: About 8g
Make Ahead and Storage
These cookies fit easily into a busy baking schedule. Here is how to keep them fresh.
Storage
Store the cookies in an airtight container at room temperature for up to 3 days. For longer freshness, keep them in the fridge for up to 2 weeks. Bring them to room temperature before serving for the best texture.
Freezing the Baked Cookies
Place leftover cookies in a freezer-safe container, and wrap them in plastic wrap first to prevent freezer burn. They stay good for up to 2 months. Thaw them on the counter before serving.
Freezing the Dough
You can freeze the dough in an airtight container, or roll it into balls and freeze them with parchment between the layers. Thaw dough in the fridge overnight, or let frozen balls sit at room temperature before baking. Frozen balls may need an extra minute or two in the oven.
Why You’ll Love This Recipe
This recipe has everything a good cookie needs. Here is why it earns a spot in my baking rotation.
- It is easy to make: You mix everything in one bowl, and the dough comes together quickly. Even beginners can pull it off with confidence.
- It tastes like a classic: The soft, chewy peanut butter cookie and melty chocolate center is a combination that never gets old. It is a perfect peanut butter cookie recipe for chocolate lovers.
- It is great for the holidays: These cookies look festive on any dessert table. Colored sugar makes them even more fun.
- It works for make-ahead baking: You can freeze the dough or the baked cookies. That makes it easy to prep ahead for parties.
- It is easy to customize: Swap the chocolate, change the sugar coating, or add crunchy toppers. You can make a new version every time.
FAQs
Can I use natural peanut butter?
No, it is not a good fit for this recipe. Natural peanut butter separates and makes the dough oily. Use a creamy, no-stir brand instead.
Can I make the dough ahead of time?
Yes, it freezes well. Store the dough in an airtight container, or roll it into balls first. Thaw it before baking.
What can I use instead of Hershey’s Kisses?
Milk or dark chocolate kisses both work. You can also use small peanut butter cups, candied pecans or walnuts, or roasted peanuts.
Is there a 3-ingredient or 4-ingredient version?
Some shortcut versions exist, but this recipe uses a full dough for the best texture and flavor. It is still very simple to make.
How long do peanut butter blossoms last?
They keep for 3 days at room temperature and up to 2 weeks in the fridge. You can also freeze them for up to 2 months.