Best Homemade Eggnog Recipe: Thick, Creamy & Ready in 25 Minutes

I still remember my first batch of Homemade Eggnog Recipe, and I could not believe how easy it was. I had always grabbed the carton from the store, but one sip of this silky, nutmeg-kissed version changed my mind for good.
It takes just one pot, a handful of pantry staples, and about 25 minutes. I now make it every December, and my family asks for it before the tree even goes up. If you want the best homemade eggnog recipe without any fuss, you are in the right place.
Cooking Time
Here is how the time breaks down, so you can plan ahead. Remember that the eggnog needs a few hours in the fridge to chill and thicken.
- Prep Time: 15 minutes
- Cooking Time: 10 minutes
- Total Time: 25 minutes (plus chilling time)
Ingredients for Homemade Eggnog
This is an easy eggnog recipe with simple ingredients. Each one has a clear job, so I added a quick tip beside it.
- 6 large egg yolks – They give the eggnog its rich, custard-like body.
- 1/2 cup granulated sugar – Whisk it with the yolks until pale for a smoother texture.
- 1 cup heavy cream – This adds the thick, luxurious feel.
- 3 cups whole milk – Whole milk keeps the drink creamy but not too heavy.
- 1/2 teaspoon ground nutmeg – Use fresh, fragrant nutmeg for the true eggnog flavor.
- 1/4 teaspoon salt – A pinch balances the sweetness.
- 1 teaspoon pure vanilla extract – Stir it in off the heat so the flavor stays bright.
- Optional: 1/4 cup brandy, rum, bourbon or whiskey – Add it after cooking for a classic spiked nog.
- Optional: whipped cream and cinnamon – Perfect finishing touches for serving.
Note: serves several
Equipment You Need
You do not need fancy tools for this old fashioned eggnog recipe. A few kitchen basics will do.
- Medium saucepan – Heats the cream and milk gently.
- Medium mixing bowl – Hold the yolks and sugar for whisking.
- Whisk – Blends the yolks and keeps the custard smooth.
- Instant-read thermometer – Confirms the custard reaches 160°F safely.
- Fine mesh strainer – Catches any tiny cooked bits for a silky finish.
- Pitcher or jar with lid – Stores and chills the finished eggnog.
- Blender (optional) – Gives an extra-smooth, frothy result.
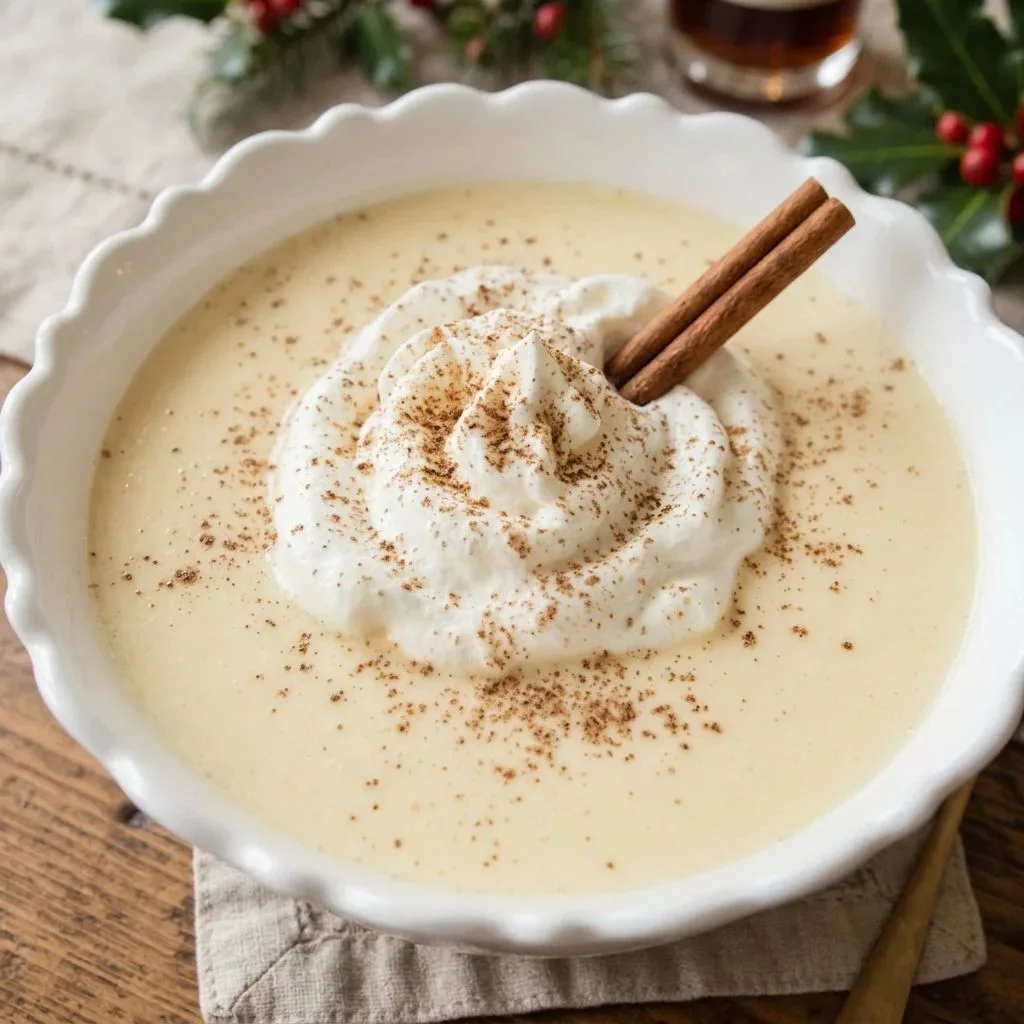
How to Make a Homemade Eggnog Recipe?
Making eggnog from scratch feels fancy, but it is really a simple stovetop custard. You whisk, heat, temper, and chill. Follow these steps and you will have a thick, creamy drink ready to enjoy.
Whisk the Yolks and Sugar
Add the egg yolks and sugar to a medium bowl. Whisk them well until the mixture looks light, pale, and creamy. Set the bowl close to the stove, since you will need it soon.
Heat the Cream and Milk
Pour the cream, milk, nutmeg, and salt into a saucepan. Place it over medium-high heat and stir often. Heat it only until you see a bare simmer, with tiny bubbles around the edges.
Temper the Eggs
Scoop a big spoonful of the hot milk into the yolk mixture. Whisk it quickly as you pour. Repeat, one spoonful at a time, so the eggs warm up slowly and do not scramble.
Return Everything to the Pan
Once most of the hot milk is mixed in, pour the whole bowl back into the saucepan. Keep the heat steady. This is where the custard starts to come together.
Cook Until Slightly Thickened
Whisk constantly for about a minute or two. The mixture should thicken just a little, or reach 160°F on a thermometer. Do not wait for it to look thick, because it firms up as it cools.
Add the Vanilla and Alcohol
Take the pan off the heat right away. Stir in the vanilla. If you are making an alcoholic eggnog recipe, add your rum, brandy, bourbon, or whiskey now or after the nog has cooled.
Strain the Eggnog
Pour the warm eggnog through a fine mesh strainer into a pitcher. This removes any small cooked egg bits. Your drink will turn out smooth and silky.
Chill Until Cold
Cover the pitcher and place it in the fridge until fully chilled. The eggnog will thicken more as it cools. For a thinner, ultra-smooth texture, blend it with a tablespoon or two of milk.
Serve and Enjoy
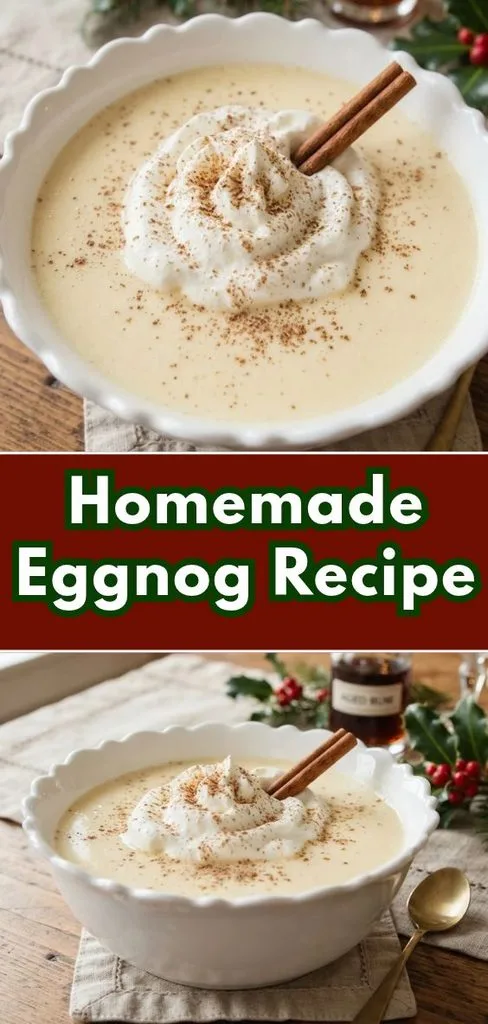
Pour the cold eggnog into glasses. Top it with fresh whipped cream and a sprinkle of cinnamon or nutmeg. Sip slowly and enjoy the holiday magic.
Additional Tips for Making This Recipe Better
I have made this recipe many times, and a few small habits make a big difference. These are my favorite tricks.
- I always use a thermometer. Hitting 160°F gives me a safe, smooth custard every time.
- I never skip the strainer. It takes ten seconds and saves the texture.
- I whisk without stopping once the mixture returns to the pan. This keeps the eggs from clumping.
- I make it a day ahead. The flavor deepens, and the eggnog gets thicker overnight.
- I grate fresh nutmeg when I can. It tastes warmer and more aromatic than the jarred kind.
- I taste before adding extra sugar. Some readers find the recipe sweet, so I trim a little when serving kids or adding liquor.
- I add alcohol only after cooking. That way the boozy flavor stays bold.
Common Mistakes to Avoid
Even a simple custard can go wrong. Here are the mistakes I have made so you do not have to.
- Pouring hot milk in too fast: I once scrambled my yolks this way. Add the hot liquid one spoonful at a time while whisking.
- Overheating the custard: When mine climbed past 160°F, it turned lumpy. I now pull it off the heat as soon as it slightly thickens.
- Skipping the chill time: My first glass tasted thin and warm. I now let it chill for several hours so it thickens.
- Forgetting to strain: A few tiny egg bits ruined the silky feel for me. Straining fixes it instantly.
- Adding too much nutmeg: I went heavy once and the flavor took over. I start small and add more to taste.
How to Serve Homemade Eggnog?
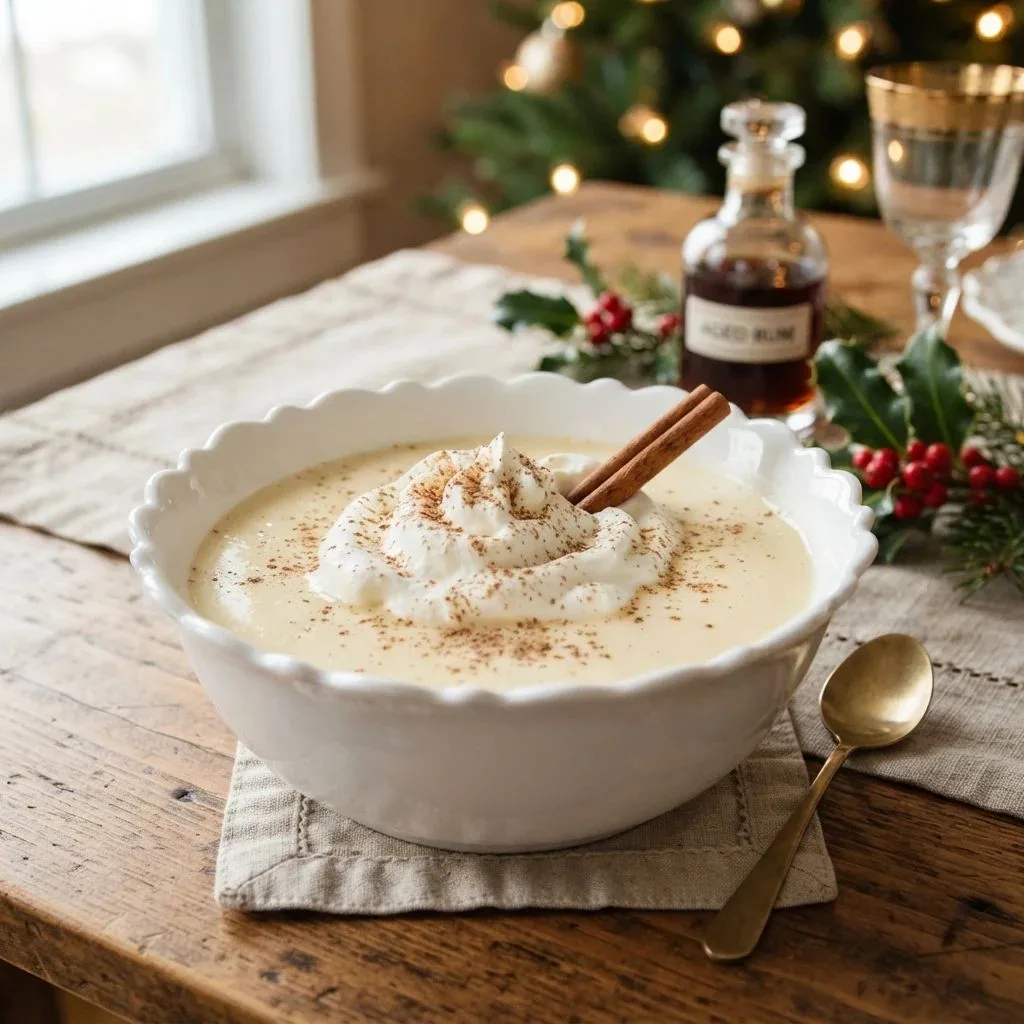
Presentation turns a simple drink into a holiday showpiece. A few easy touches make each glass look special.
- Pour it into clear glass mugs so the creamy color shows.
- Top with a big spoonful of fresh whipped cream.
- Dust with cinnamon and freshly grated nutmeg.
- Add a cinnamon stick as a stirrer.
- Rim the glass with a little cinnamon sugar for a festive touch.
- Serve it with an eggnog biscuit, gingerbread cookies, or shortbread on the side.
- Set up a small “eggnog bar” with rum, brandy, and bourbon so guests can spike their own.
Variations
Once you master the base, you can switch things up easily. Here are a few ways I like to change it.
- No cook eggnog recipe style: Some people blend raw yolks with milk and cream. I prefer the cooked version because it is safer and smoother.
- Homemade eggnog recipe with rum: Stir in 1/4 cup dark or spiced rum after cooking for a warm, caramel-like kick.
- Homemade eggnog recipe no alcohol: Simply leave out the liquor. The base recipe is already alcohol-free and kid-friendly.
- Bourbon or brandy: Both pair beautifully with nutmeg and vanilla.
- Dairy-free: Readers have tried full-fat coconut milk or oat milk in place of the dairy. Expect a slightly different flavor.
- Lighter version: Swap the heavy cream for light cream or half and half. It will be a little less rich.
- Less sugar: Reduce the sugar a bit, or try monk fruit sweetener as some readers have.
- Eggnog latte: Warm the eggnog and add a shot of espresso, then top with whipped cream.
Nutritional Information
These numbers are approximate and based on one serving from a batch that makes about 6 servings.
- Calories: 307 kcal
- Protein: 6 g
- Carbohydrates: 22 g
- Fat: 21 g
Make Ahead and Storage
This is a great make-ahead drink, which makes holiday hosting so much easier. Here is how to store it.
Make Ahead
You can prepare the eggnog one day before your party. Cook it, strain it, and chill it in a covered pitcher. Give it a good stir before serving.
Storing
Keep the eggnog in an airtight container in the fridge for up to one week. Adding alcohol does not really extend the shelf life, so I still follow the one-week rule.
Reheating
If you enjoy it warm, heat a single serving gently on the stove over low heat. Stir often and do not let it boil, or the texture may change.
Freezing
I do not recommend freezing it, since the custard can separate when thawed. If you need to, freeze it in a sealed container and whisk or blend well after thawing.
Why You’ll Love This Recipe?
This eggnog is easy, flexible, and full of flavor. Here is why it has become my holiday favorite.
- Easy to make: It comes together in about 25 minutes with one saucepan. You only whisk, heat, strain, and chill.
- Better than store-bought: The texture is thick, creamy, and smooth. The nutmeg flavor is mild and balanced, not overly sweet or artificial.
- Made with simple ingredients: You probably have most of them already. There are no stabilizers or additives, just real eggs, dairy, and spice.
- Alcohol is optional: The base recipe has no alcohol, so everyone can enjoy it. You can still spike individual glasses for the adults.
- Easy to customize: Change the milk, the sweetener, or the spirit to match your taste. It works for classic, boozy, or lighter versions.
FAQs
Is this homemade eggnog safe to drink without raw eggs?
Yes. The custard is cooked to about 160°F, so the eggs are heated through. That makes it safer than the raw-egg method.
Can I use half and half instead of heavy cream?
Yes, you can. The eggnog will be a little less rich and thick, but it still tastes great.
What kind of alcohol goes in eggnog?
Brandy, rum, bourbon, and whiskey all work well. Start with about 1/4 cup and add more to taste.
How long does homemade eggnog last in the fridge?
It stays fresh for up to one week in a covered container. Stir or shake it before pouring.
Why is my eggnog too thin?
It likely needs more time to chill, since it thickens as it cools. You can also cook it slightly longer or use a bit more cream and less milk.